How to use Conferencebadge application
1. Log in
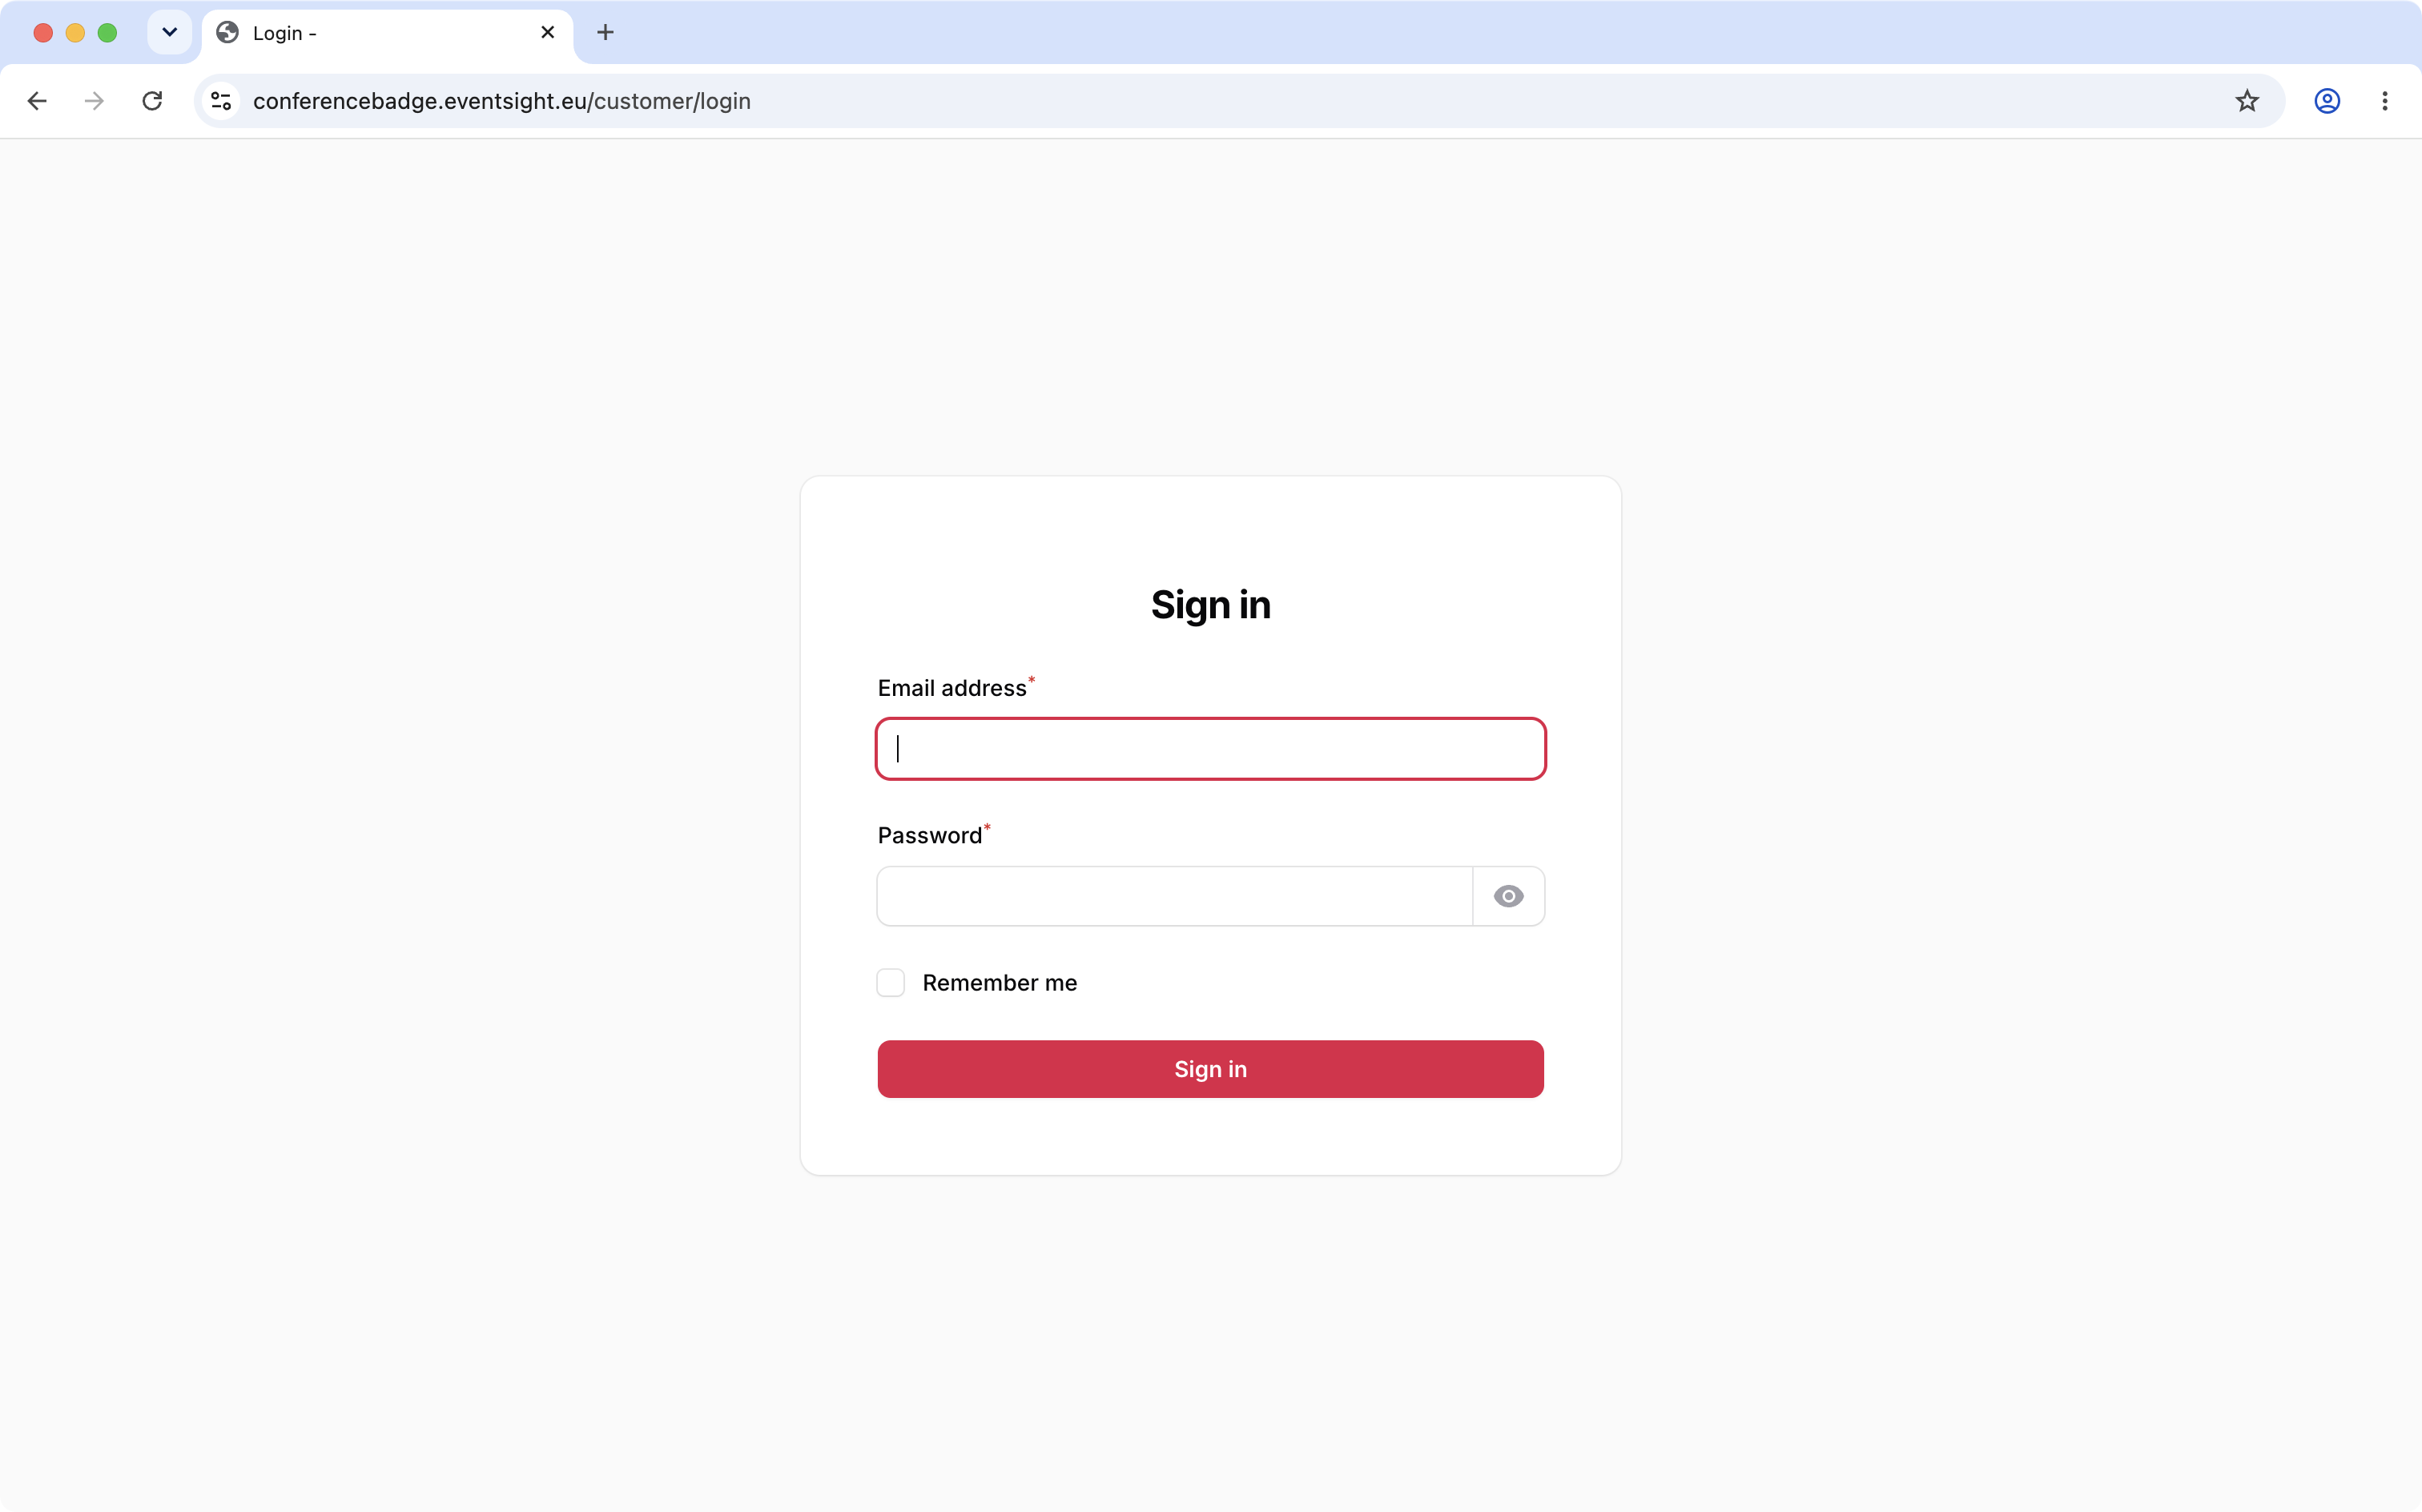
Go to https://conferencebadge.eventsight.eu/ and log in with your credentials.
2. Select a project
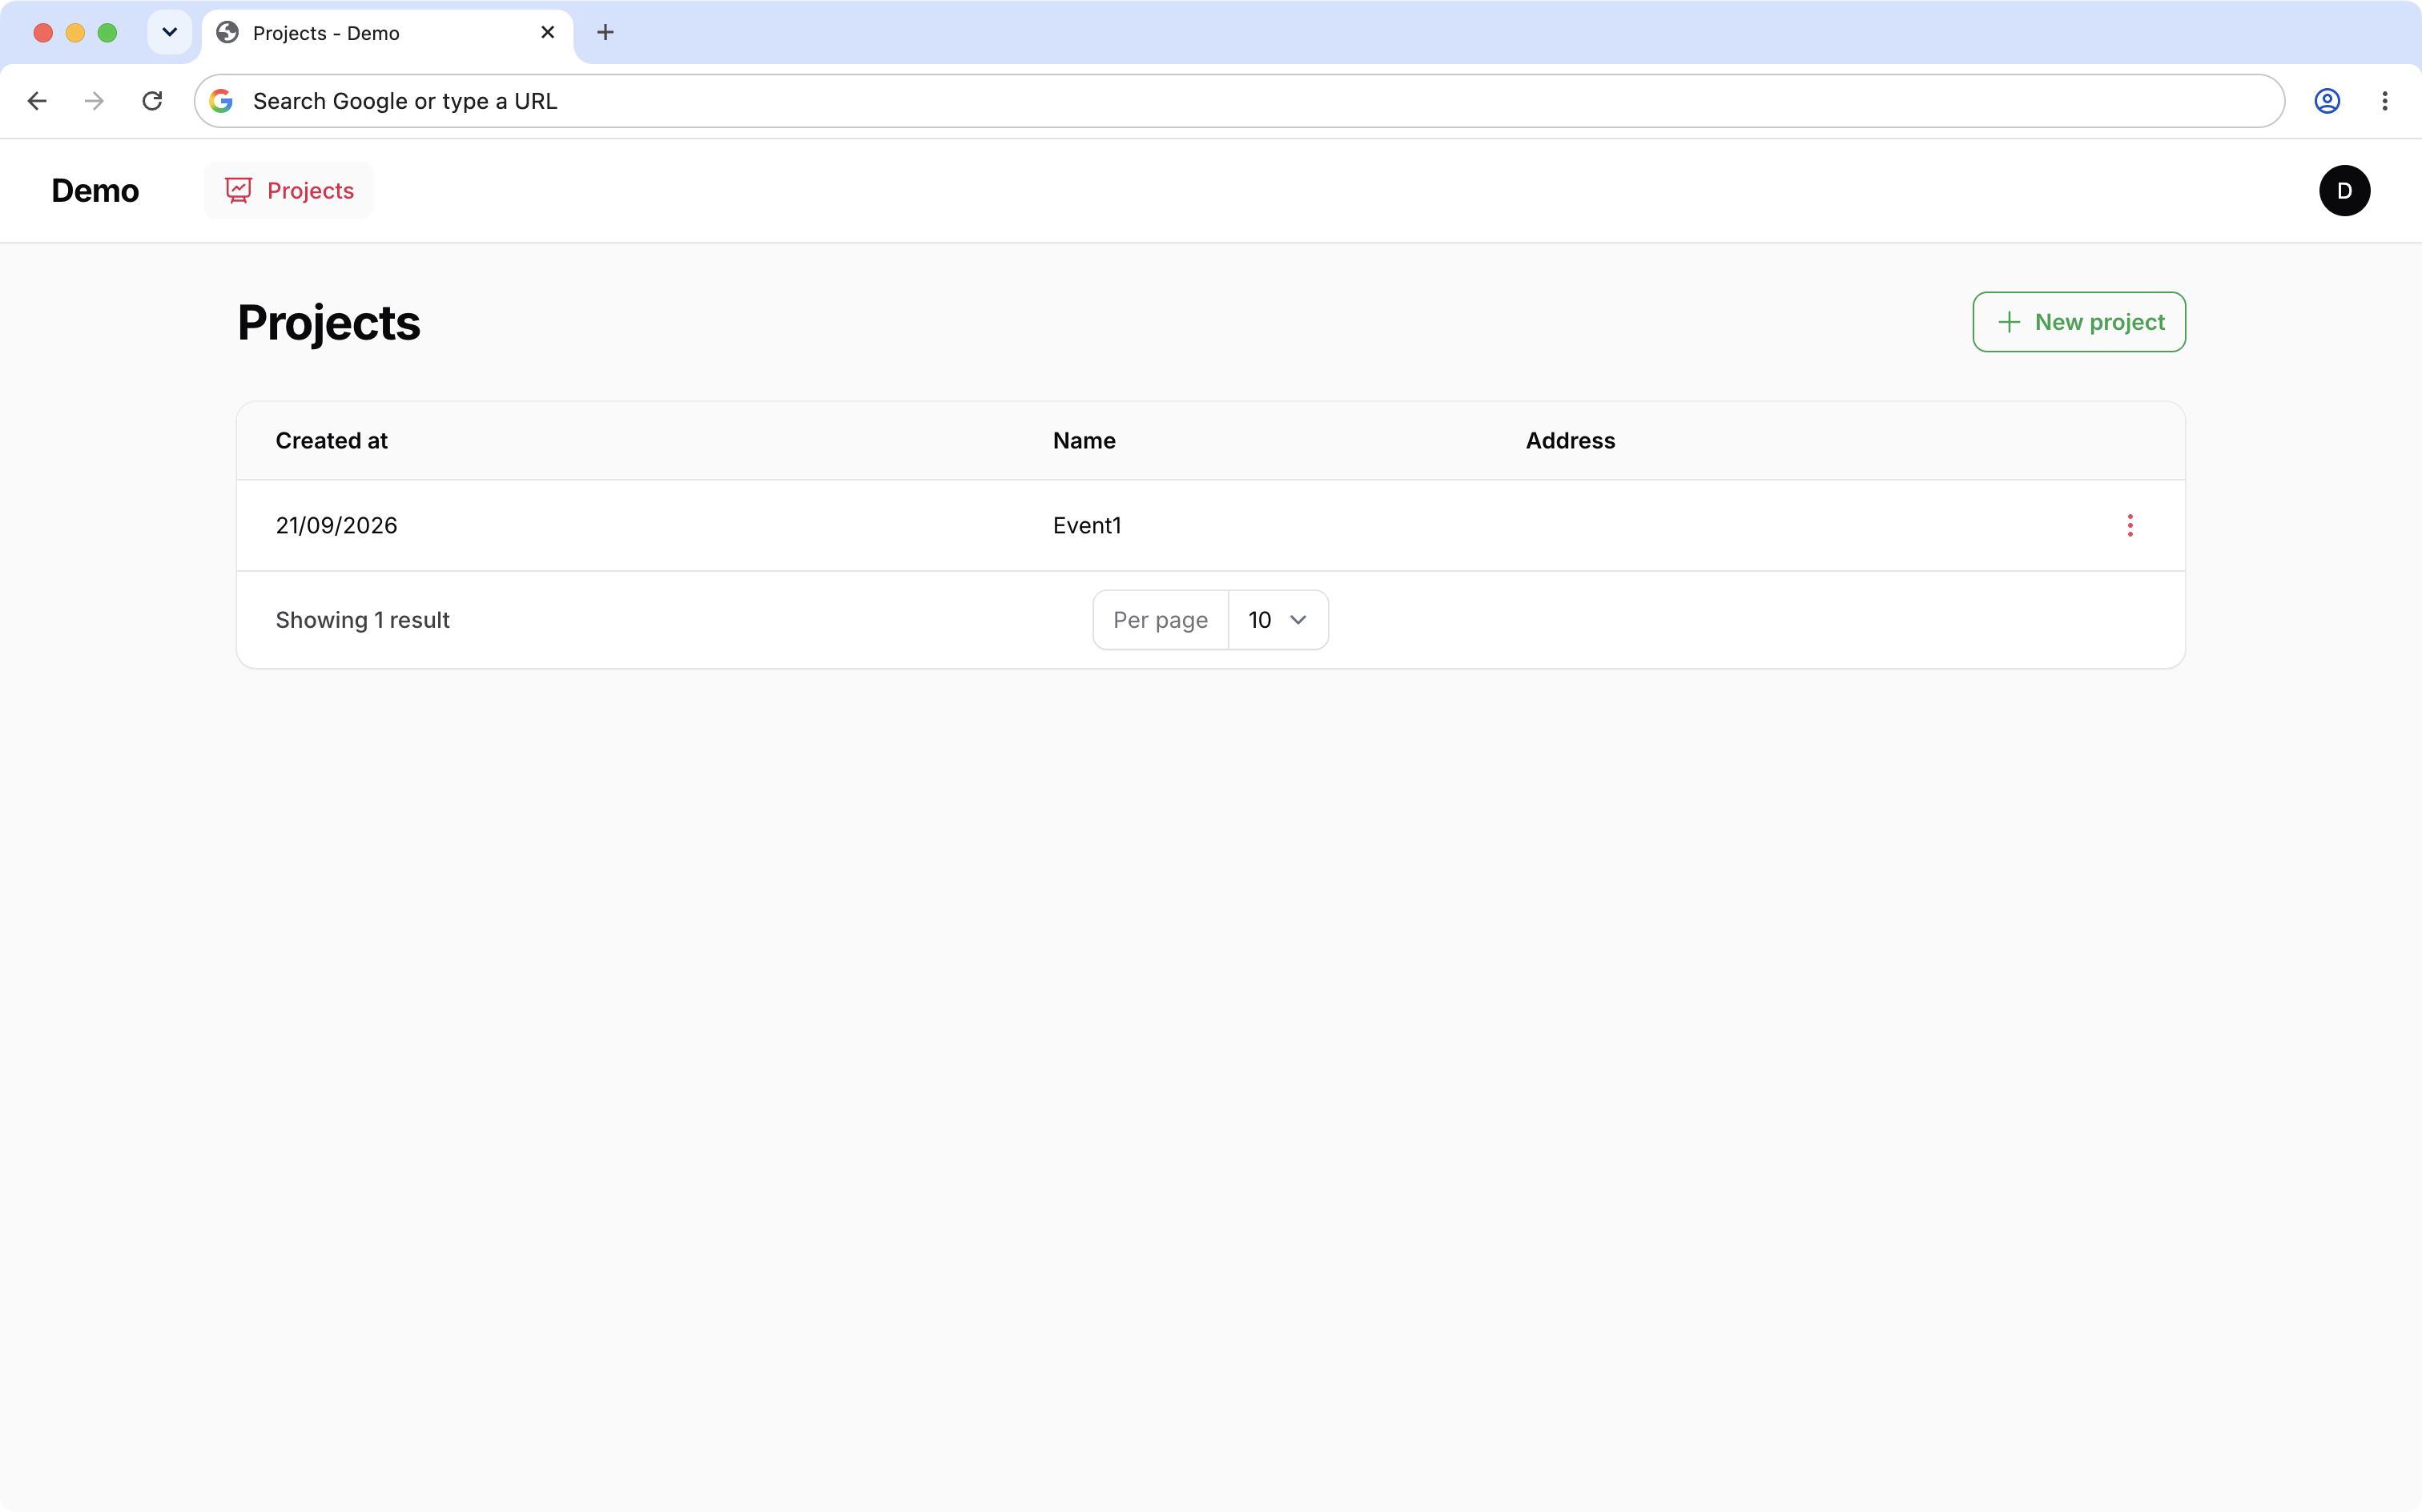
The first page is an overview of your projects. Select a project to proceed.
3. Your badge designs
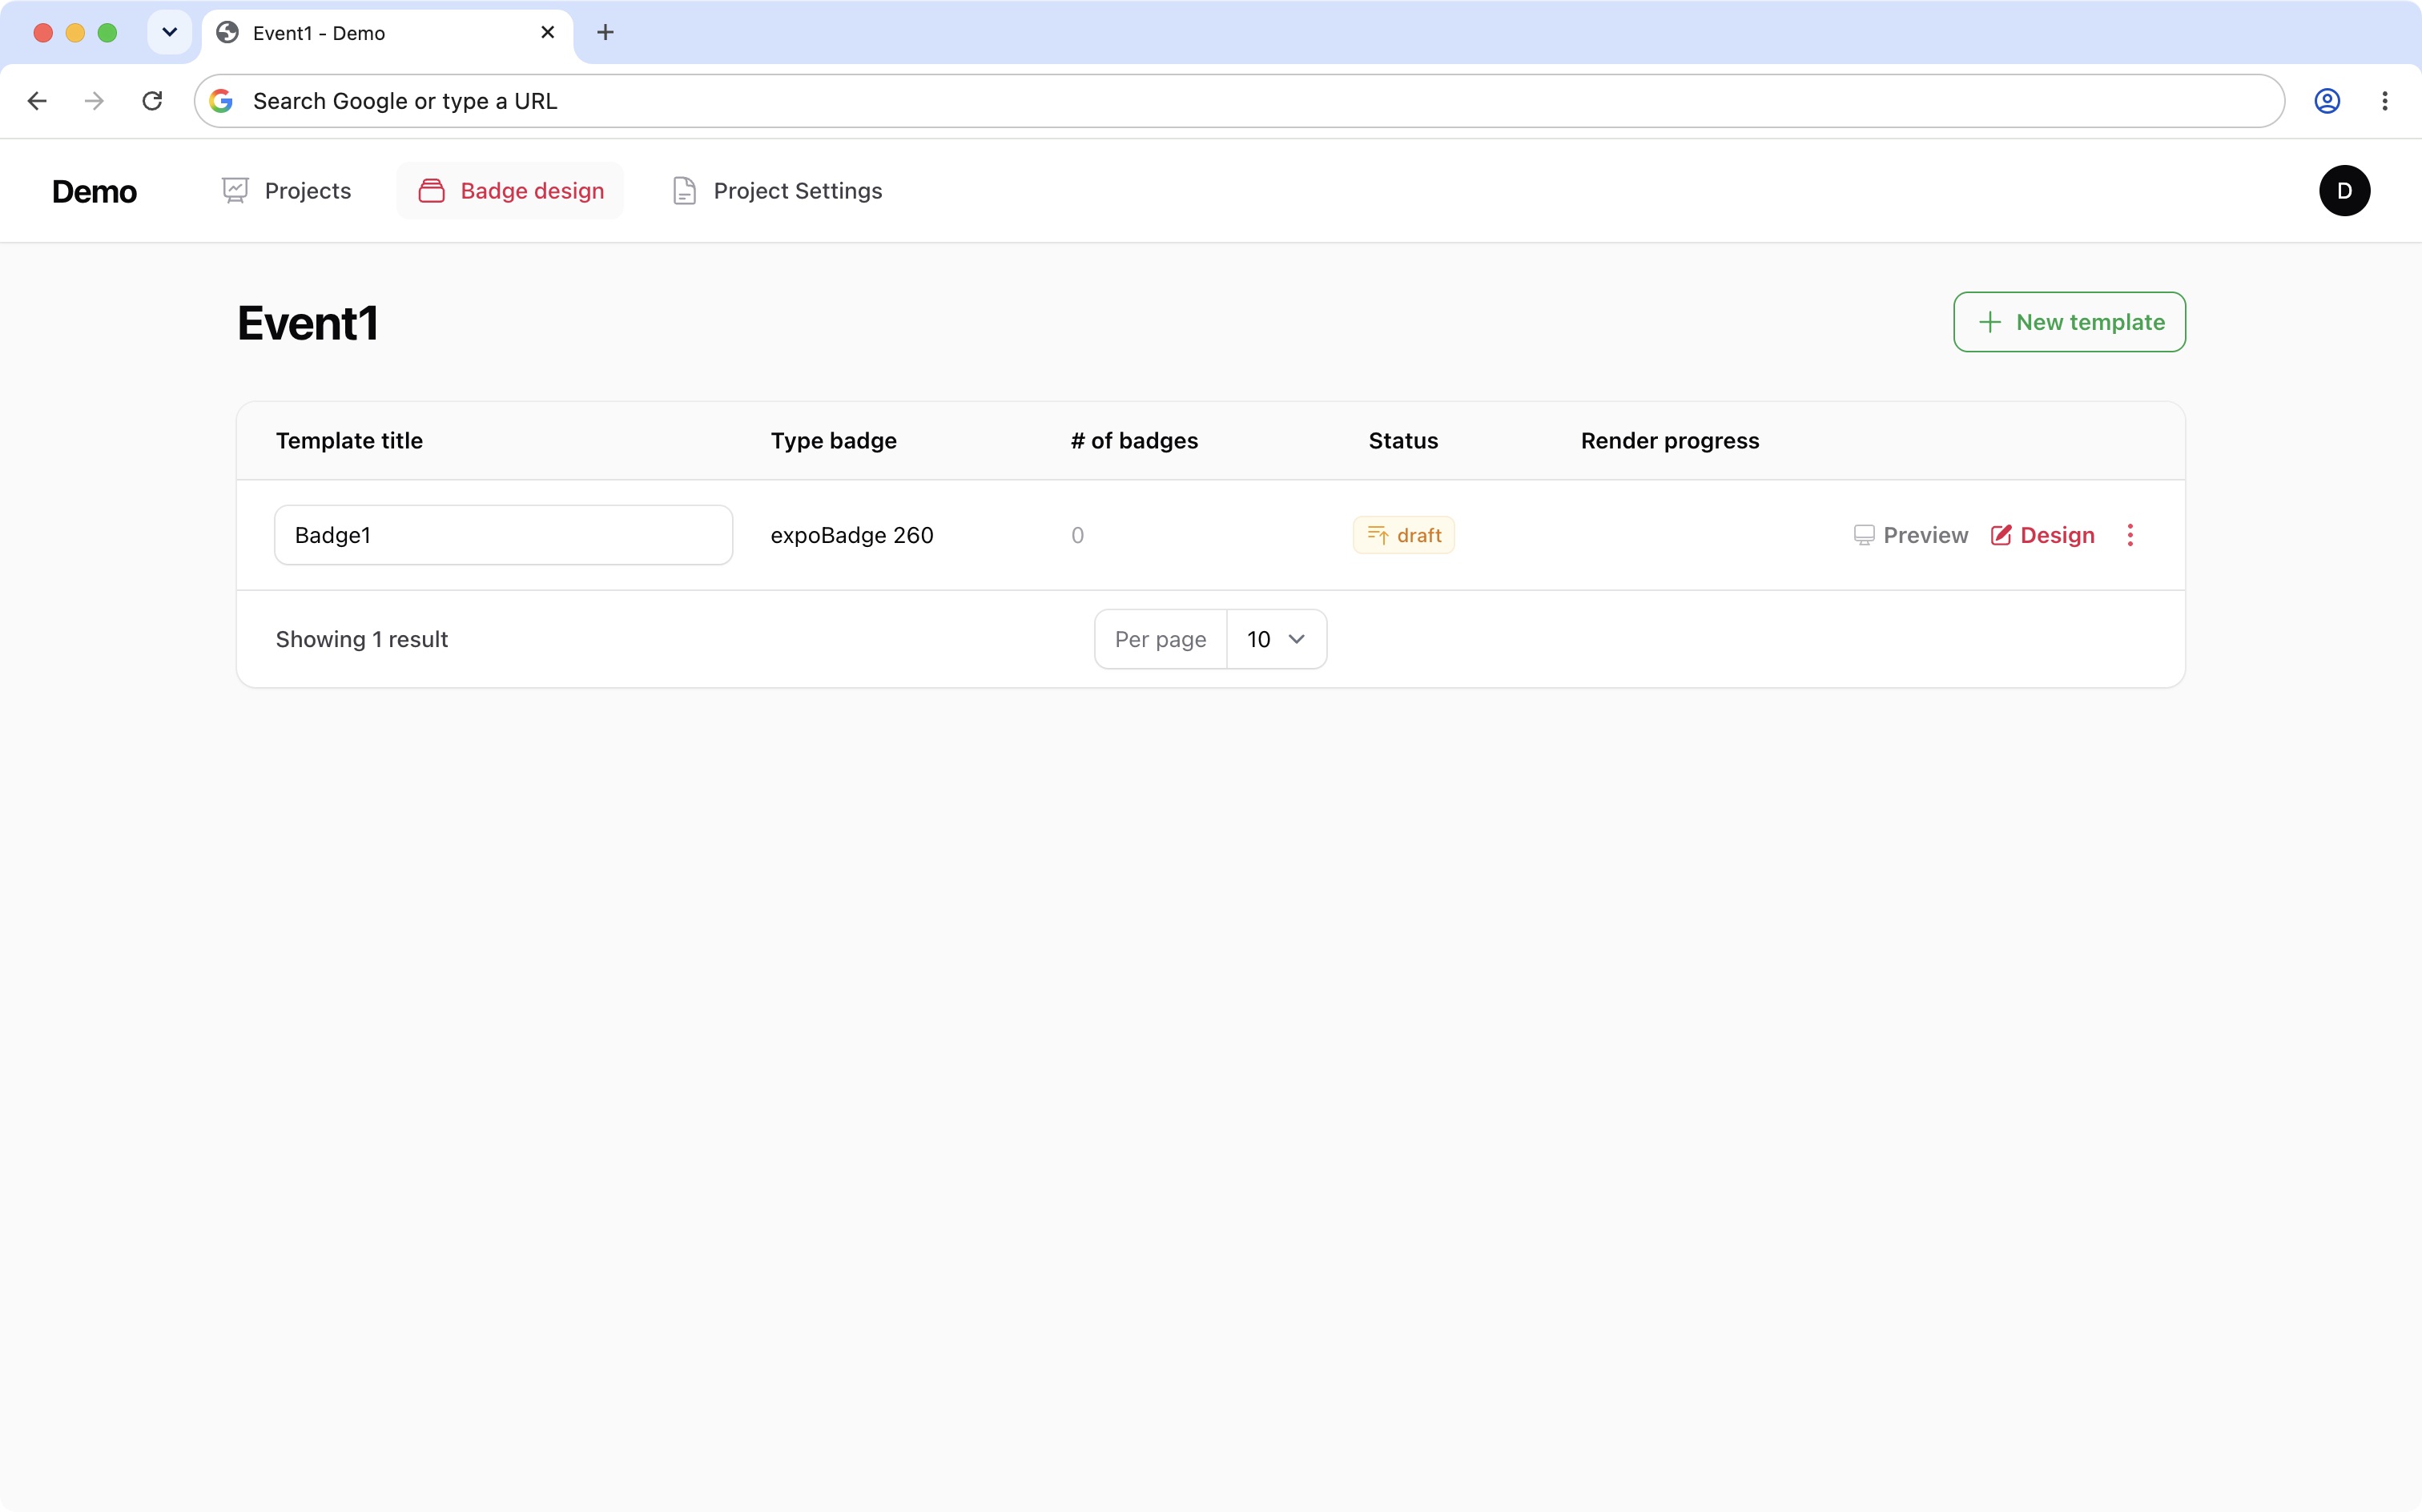
Once selected, you are on your project page, which gives an overview of your badge designs.
Creating and editing a design
4. Create a new design
Click "New template" at the top of the page.
5. Edit an existing design
Click "Design" to edit an existing design.
Working in the designer
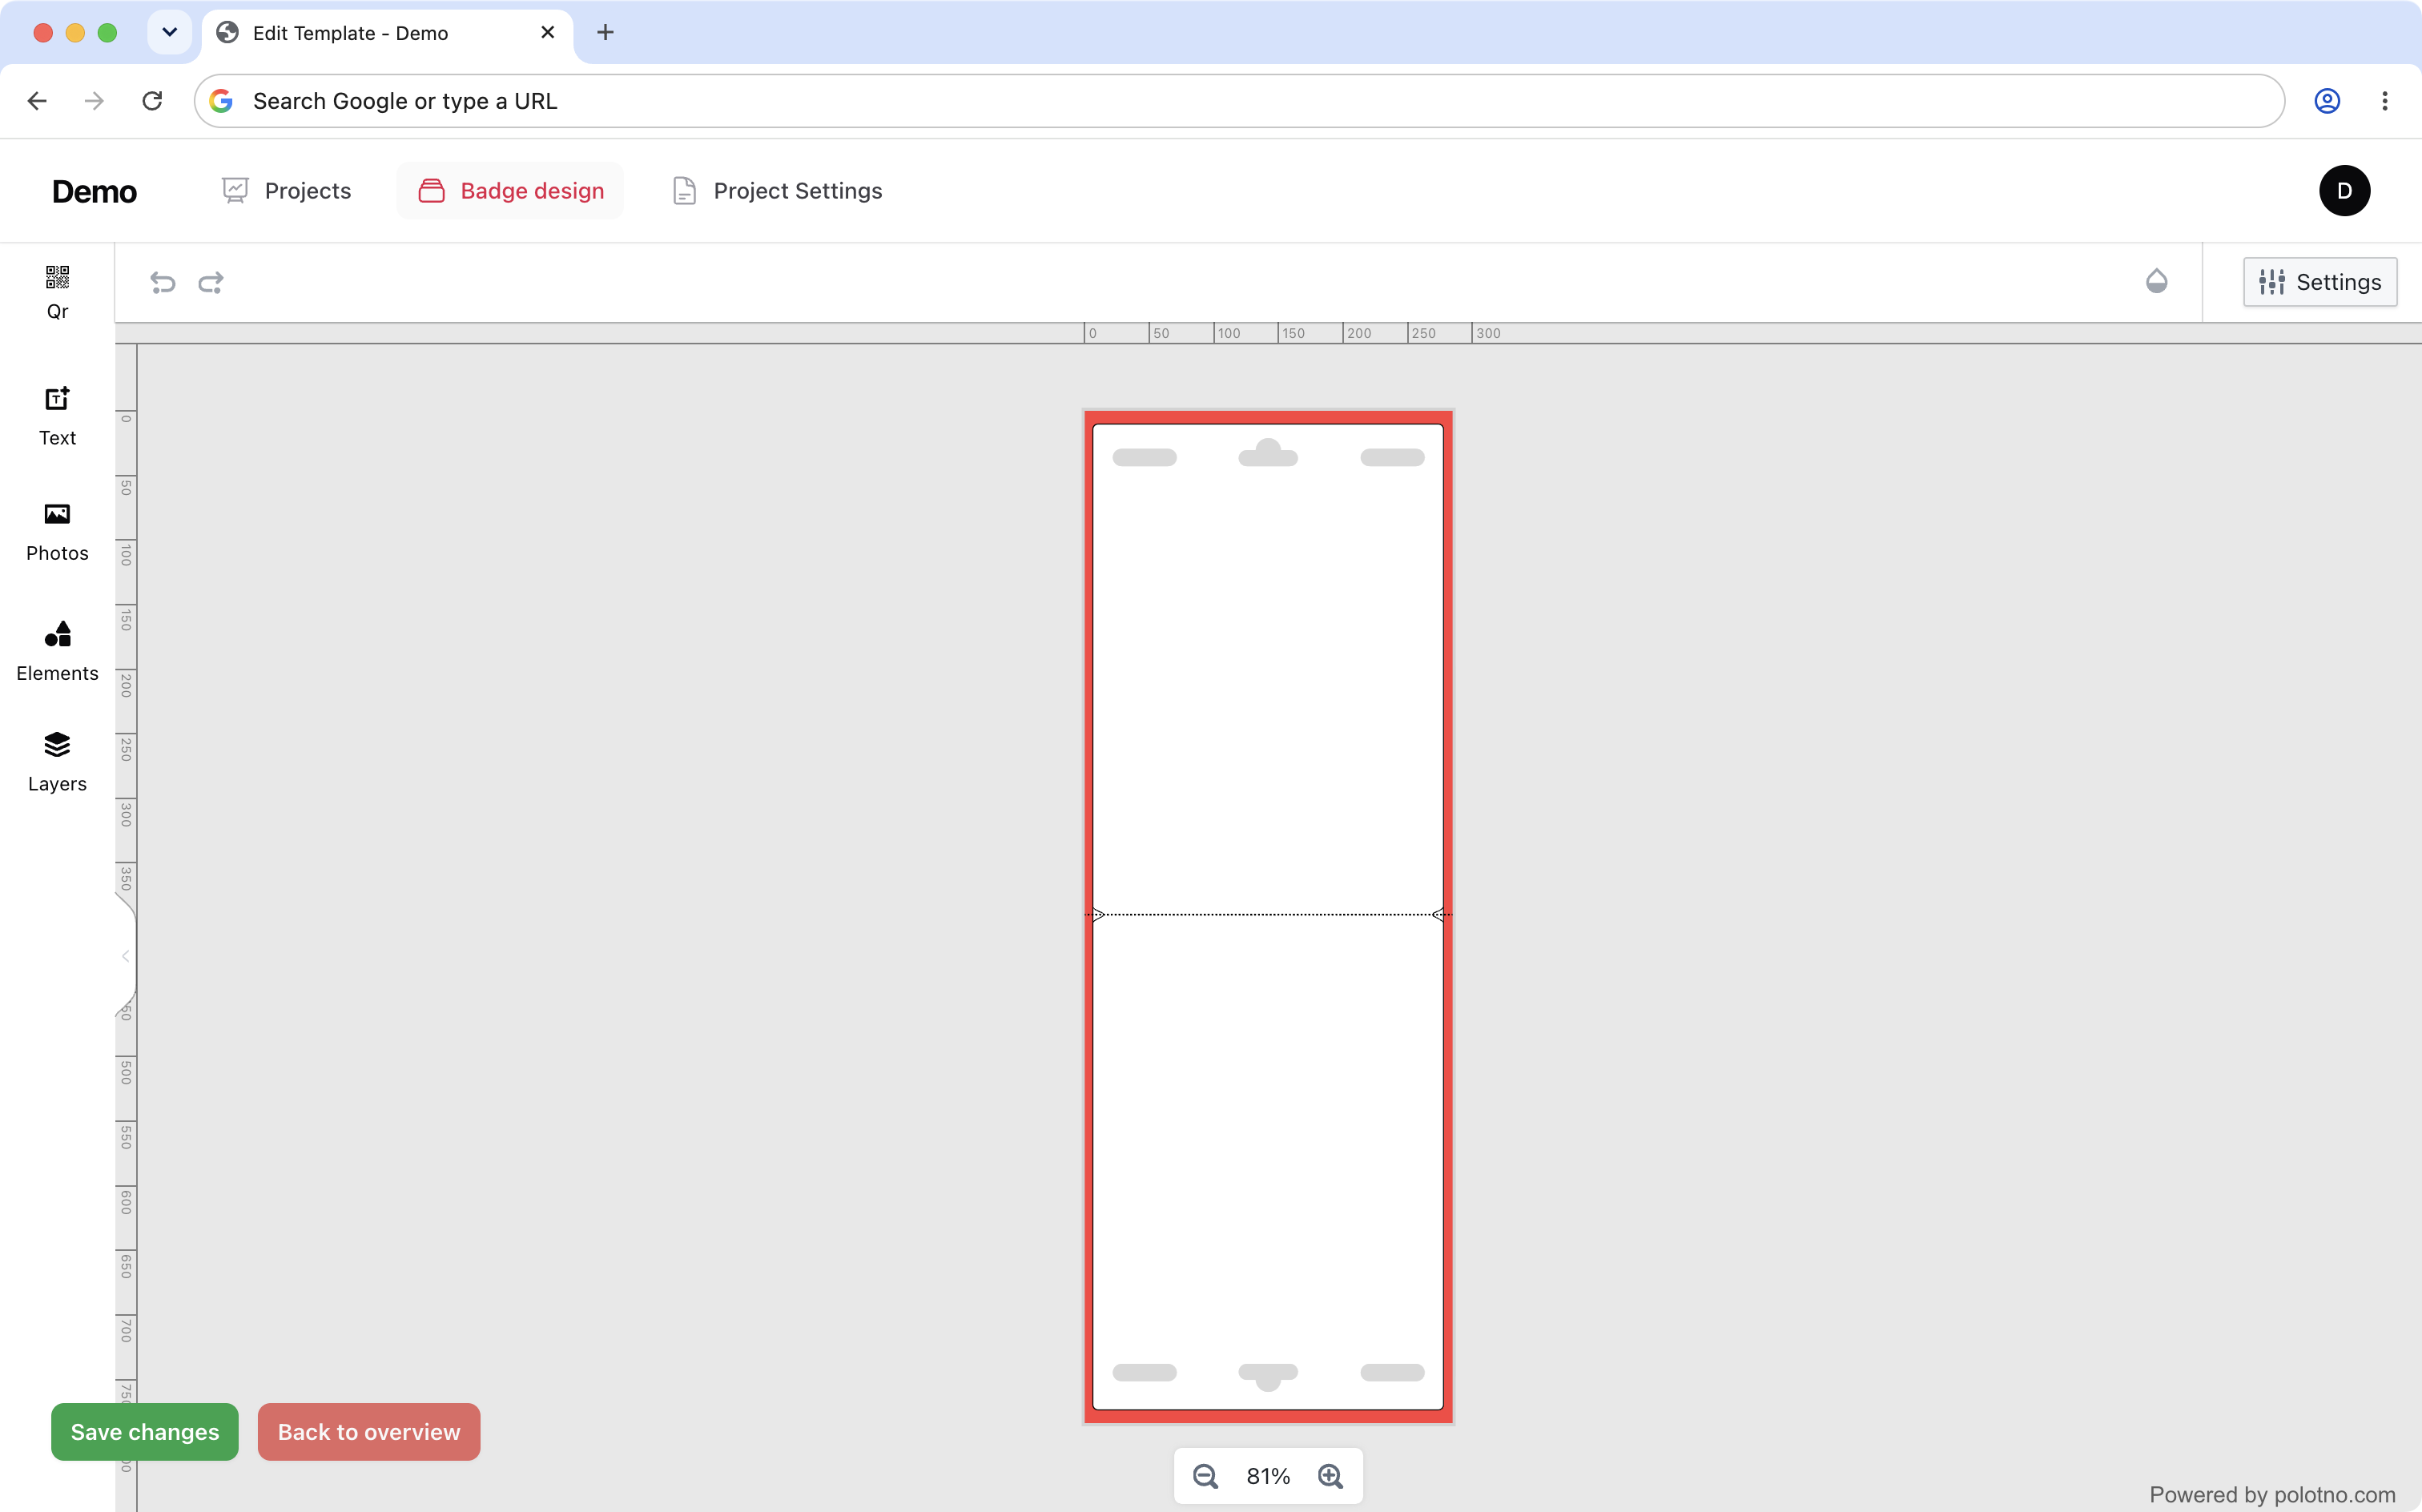
6. The primary navigation
In the designer, the primary navigation is on the left. Here you can:
- Add QR codes, text, images or elements.
- Reorder these elements on the "Layers" tab.
7. Adding dynamic text
To add dynamic text, wrap it inside double vertical bars, for example ||example||.
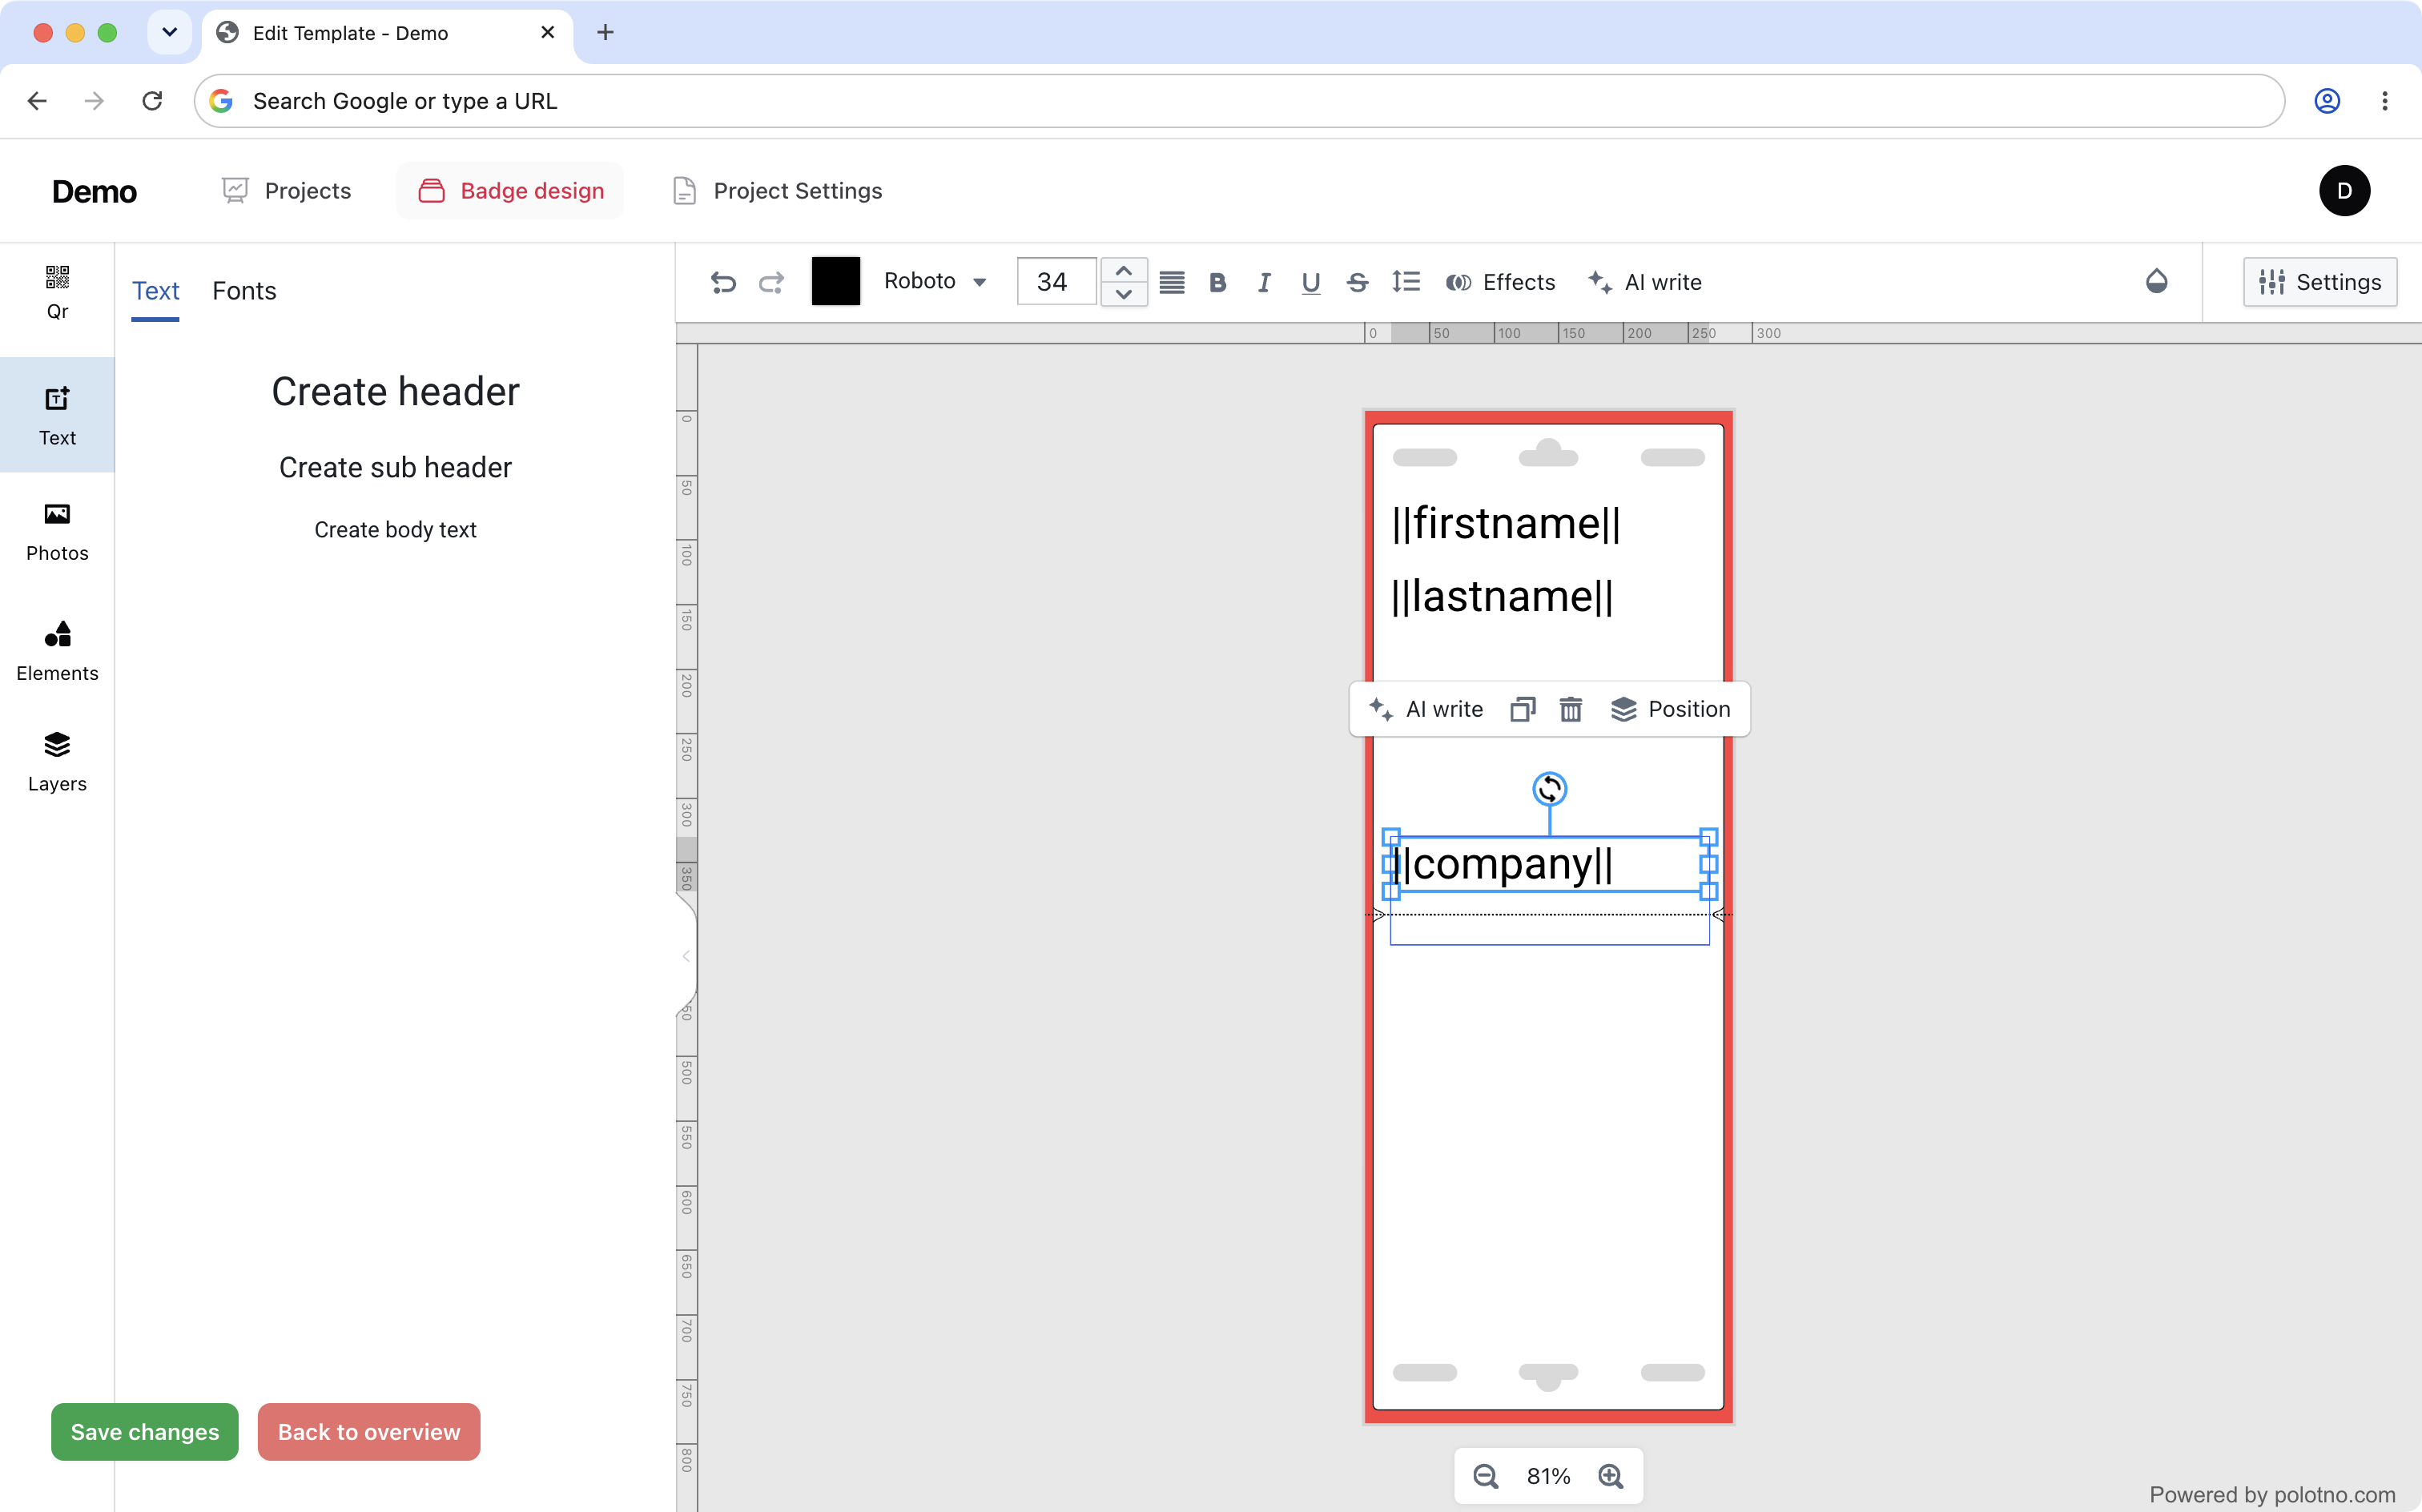
8. Save your work
During your work, or after you finish designing, click the "Save changes" button at the bottom left of the screen.
Creating a print-ready PDF
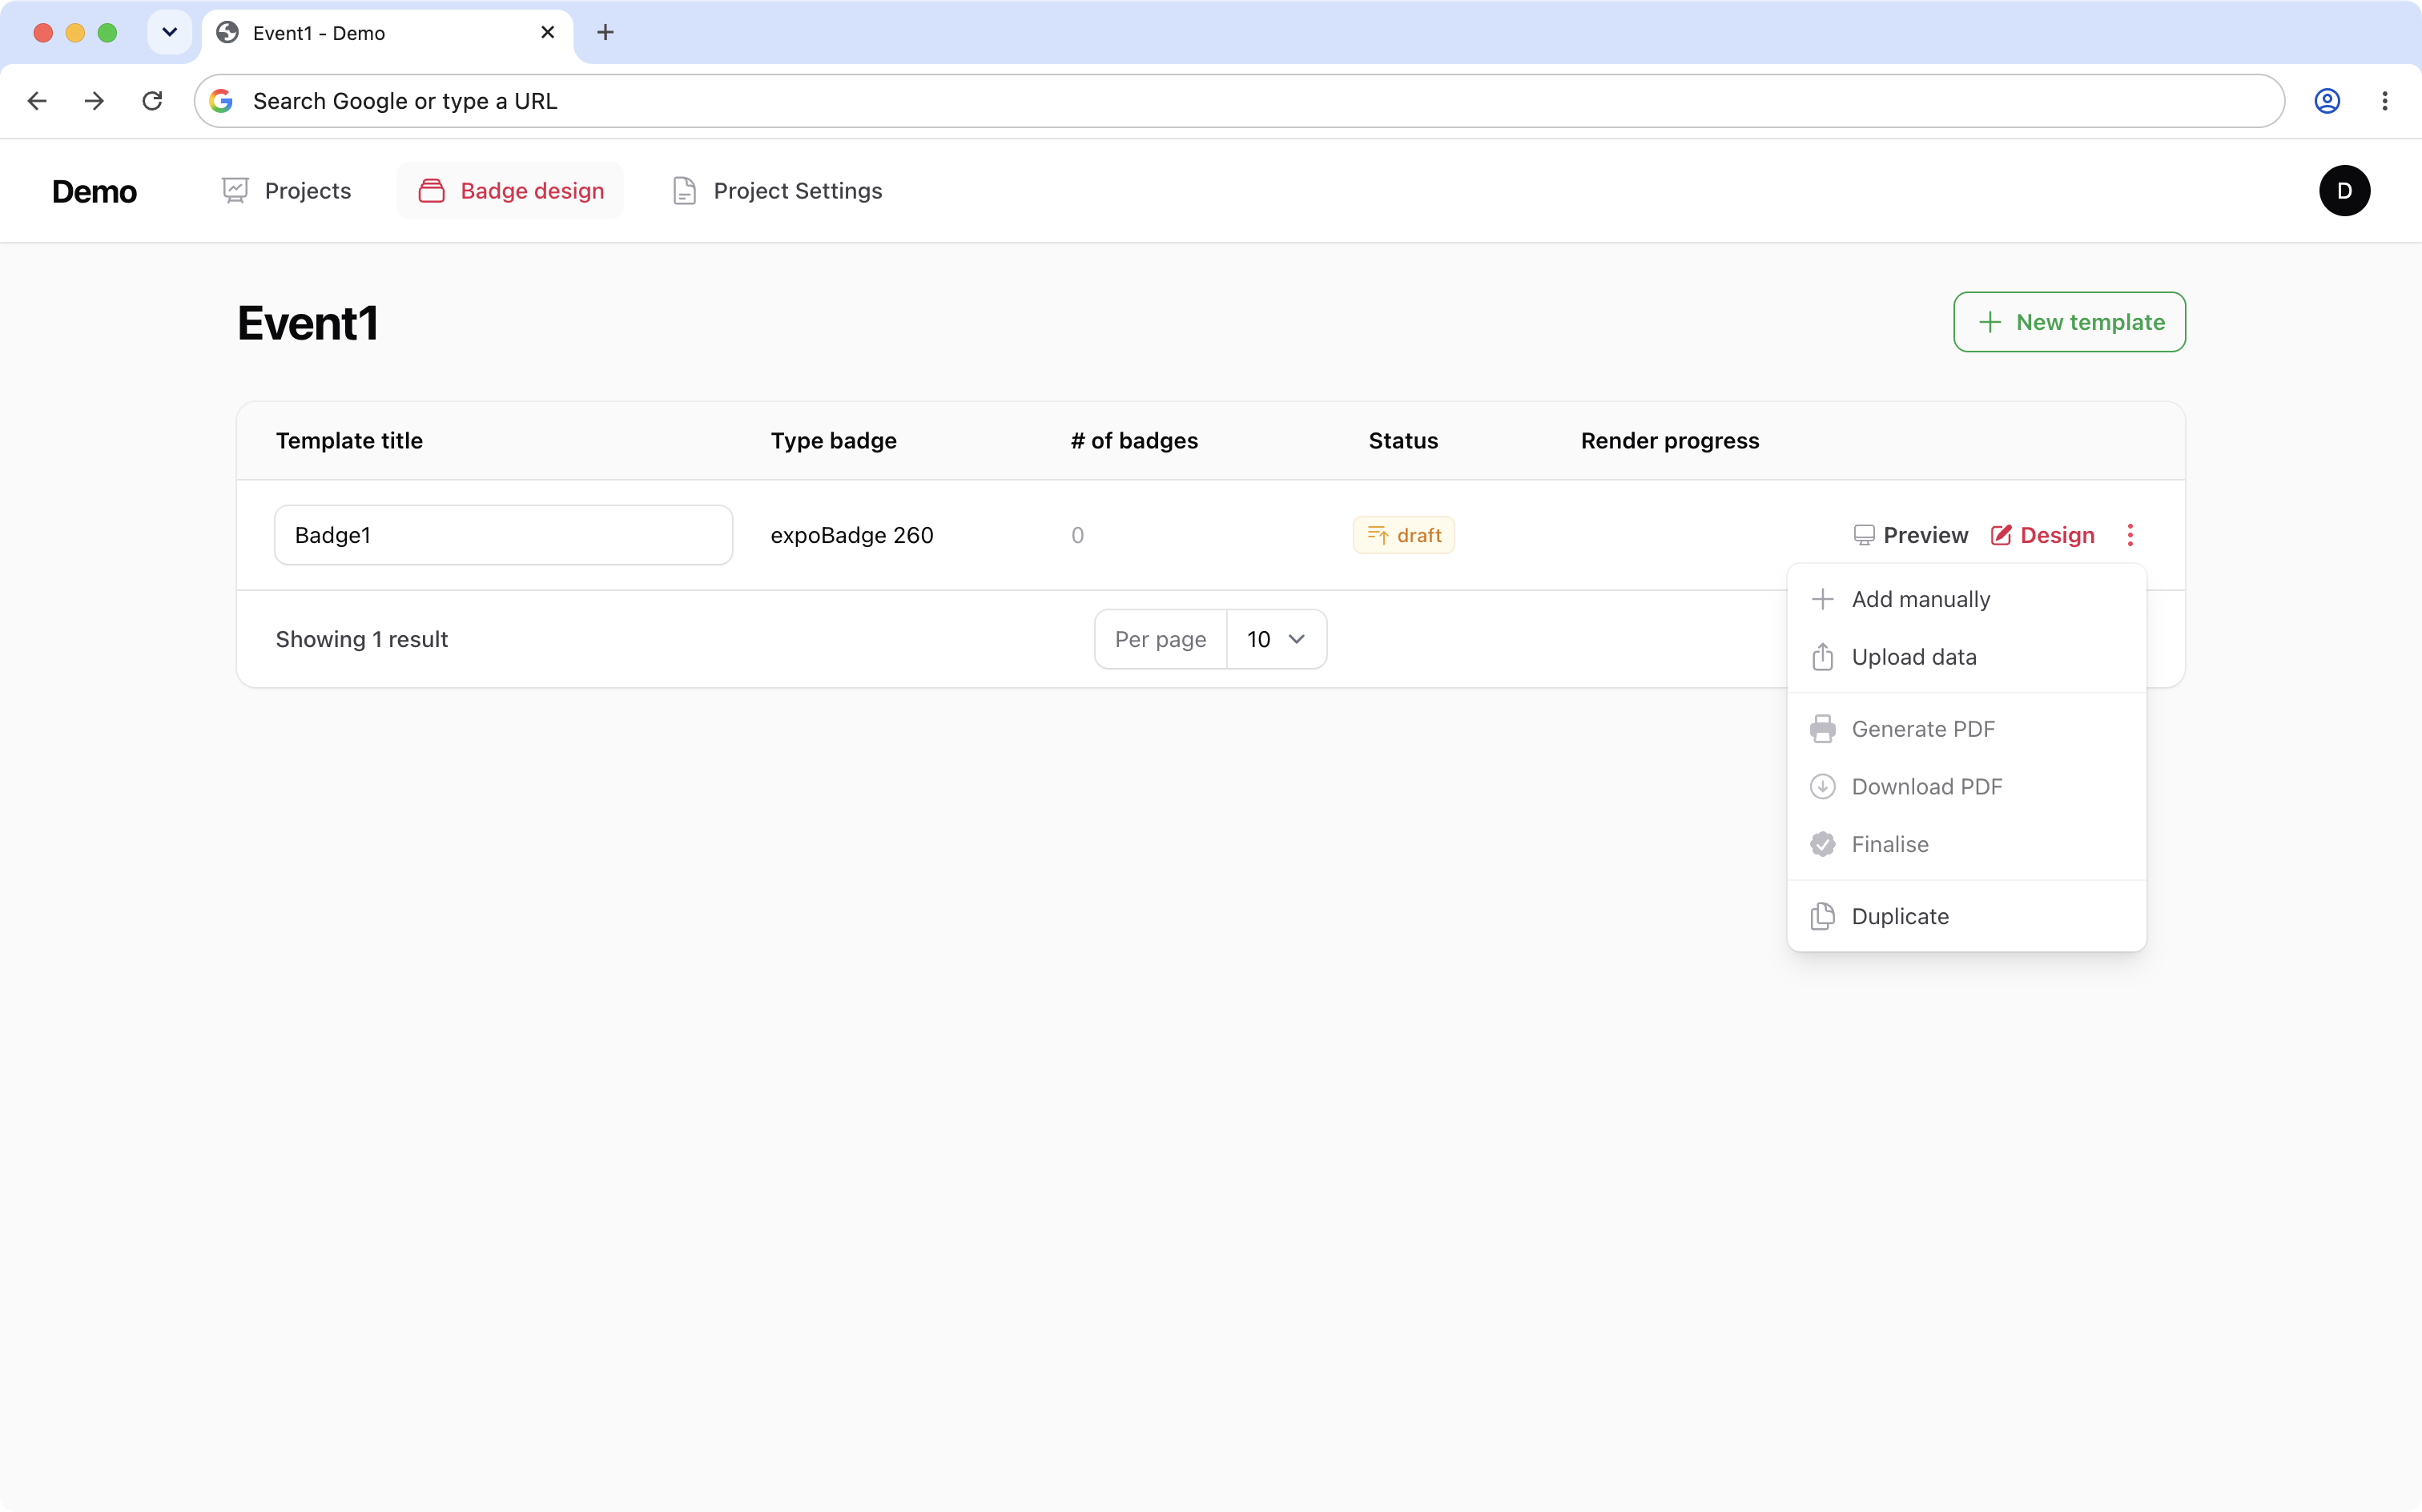
9. Upload an Excel data file
To create a merged document ready for print, first upload an Excel data file. Click the "three dots" symbol, then the "Upload data" option.
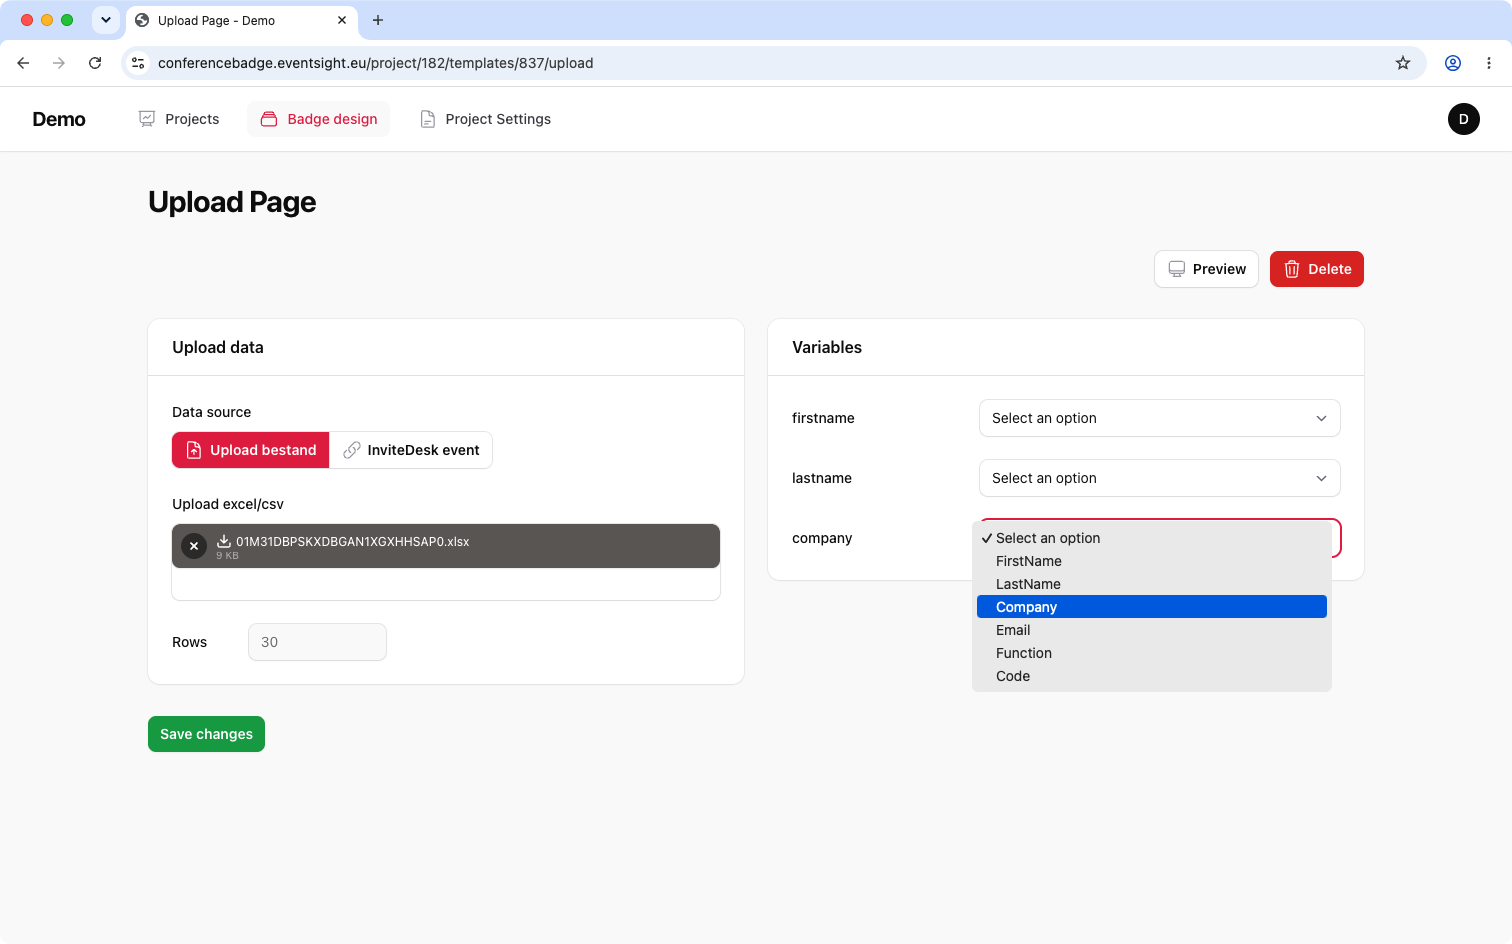
10. Match the data with the design
Choose your file by clicking "Browse" on the left of the screen. Once selected, the number of rows is detected automatically and you can match the Excel list with the design placeholders. Click "Save changes" to finalise.
11. Generate the PDF
Click the "three dots" once more, followed by "Generate pdf".
12. Download the PDF
As a final step, click the "three dots" followed by "Download pdf".
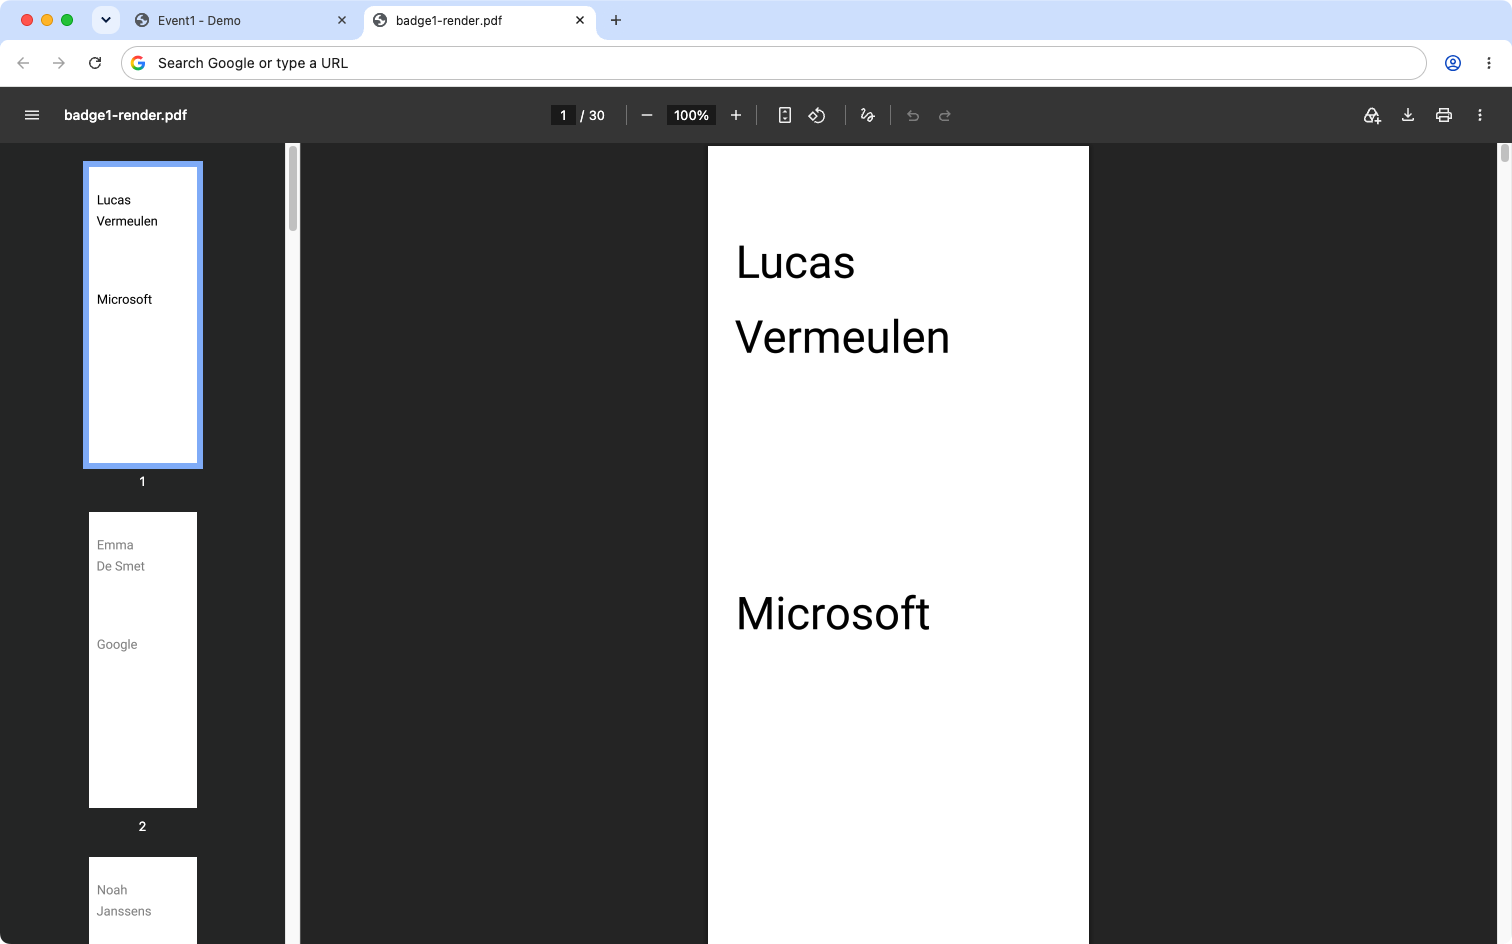
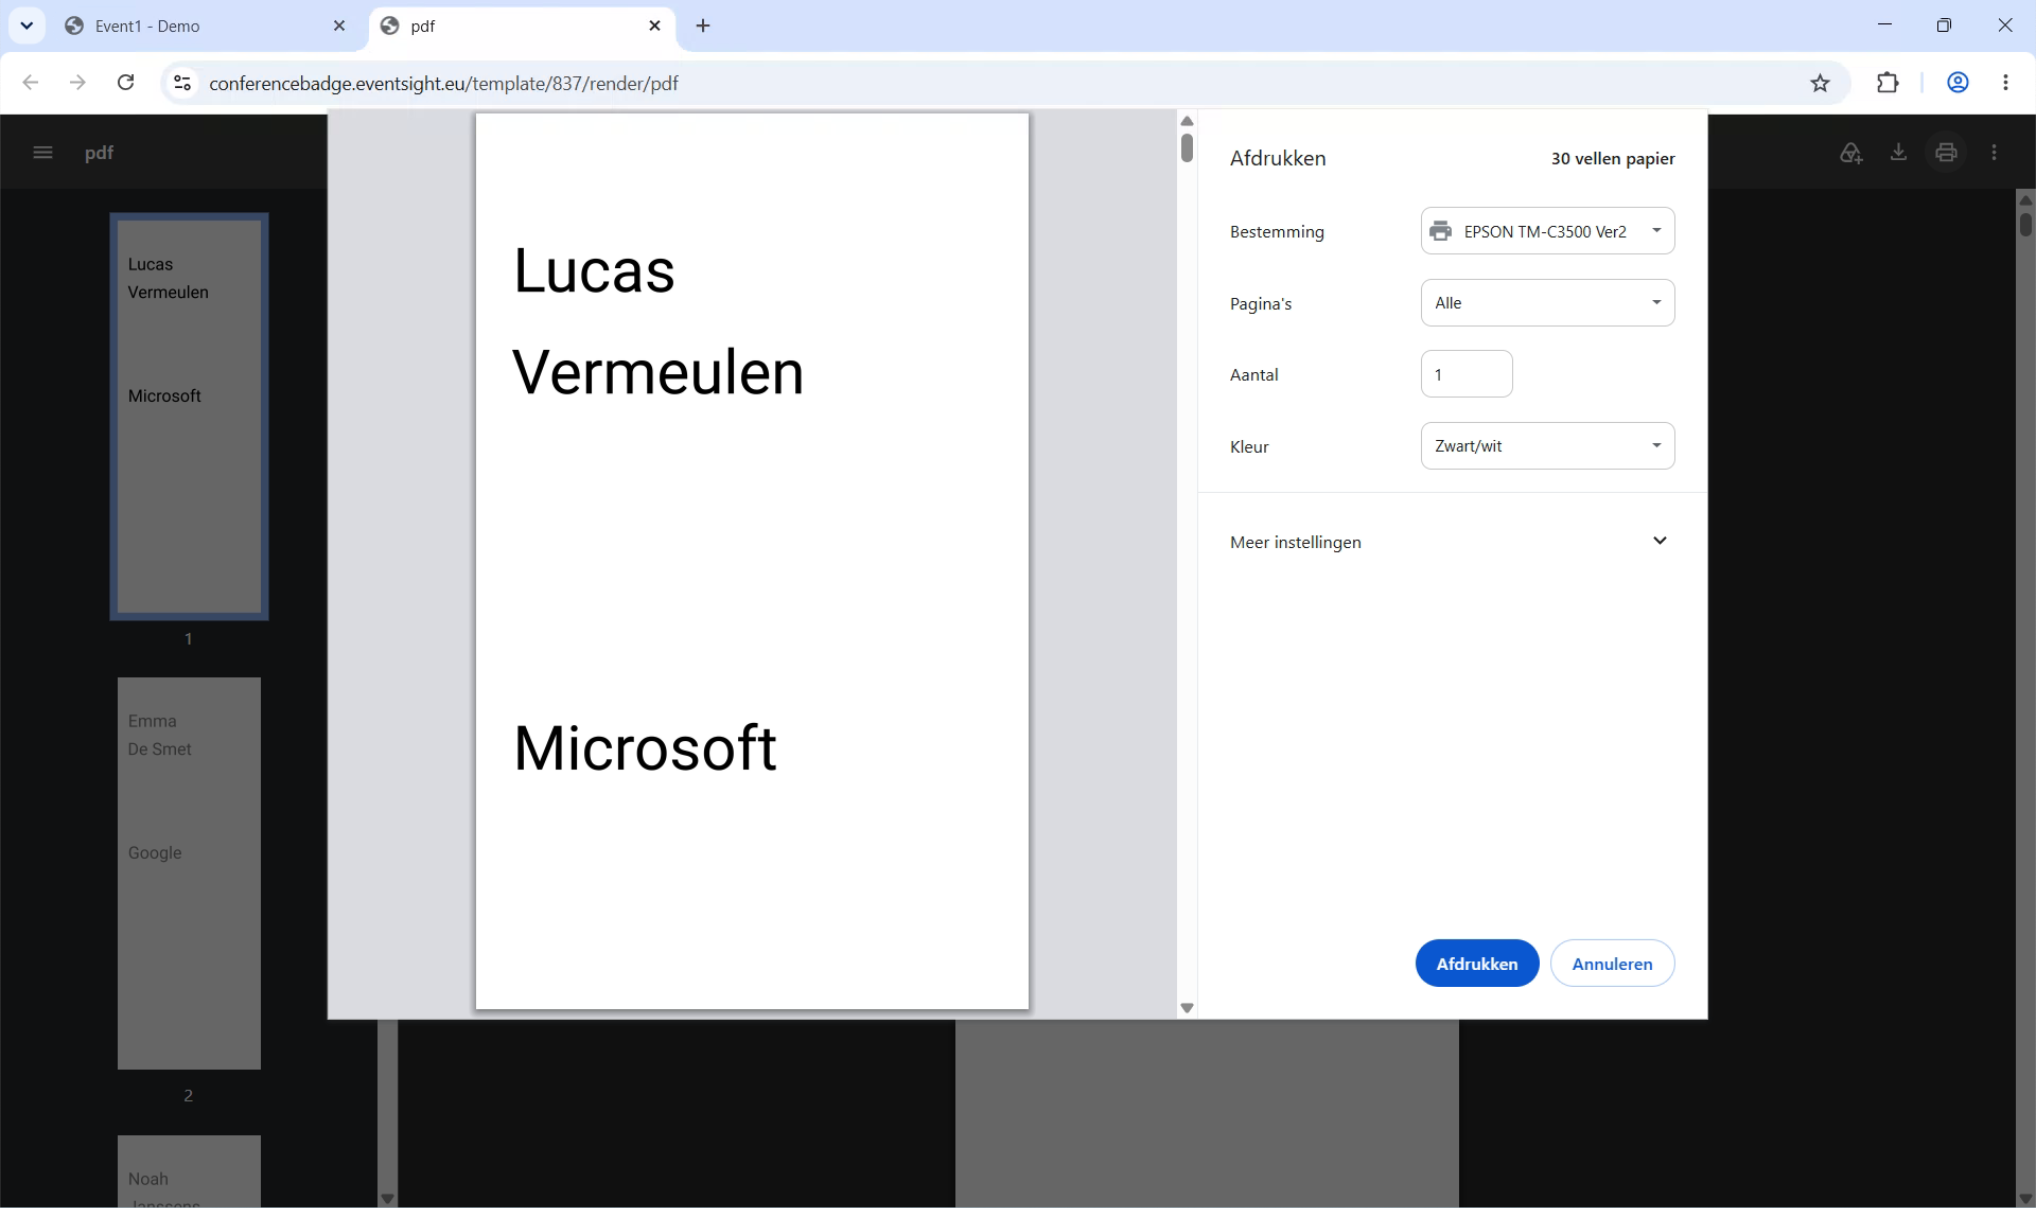
Click the print icon and select the correct printer.