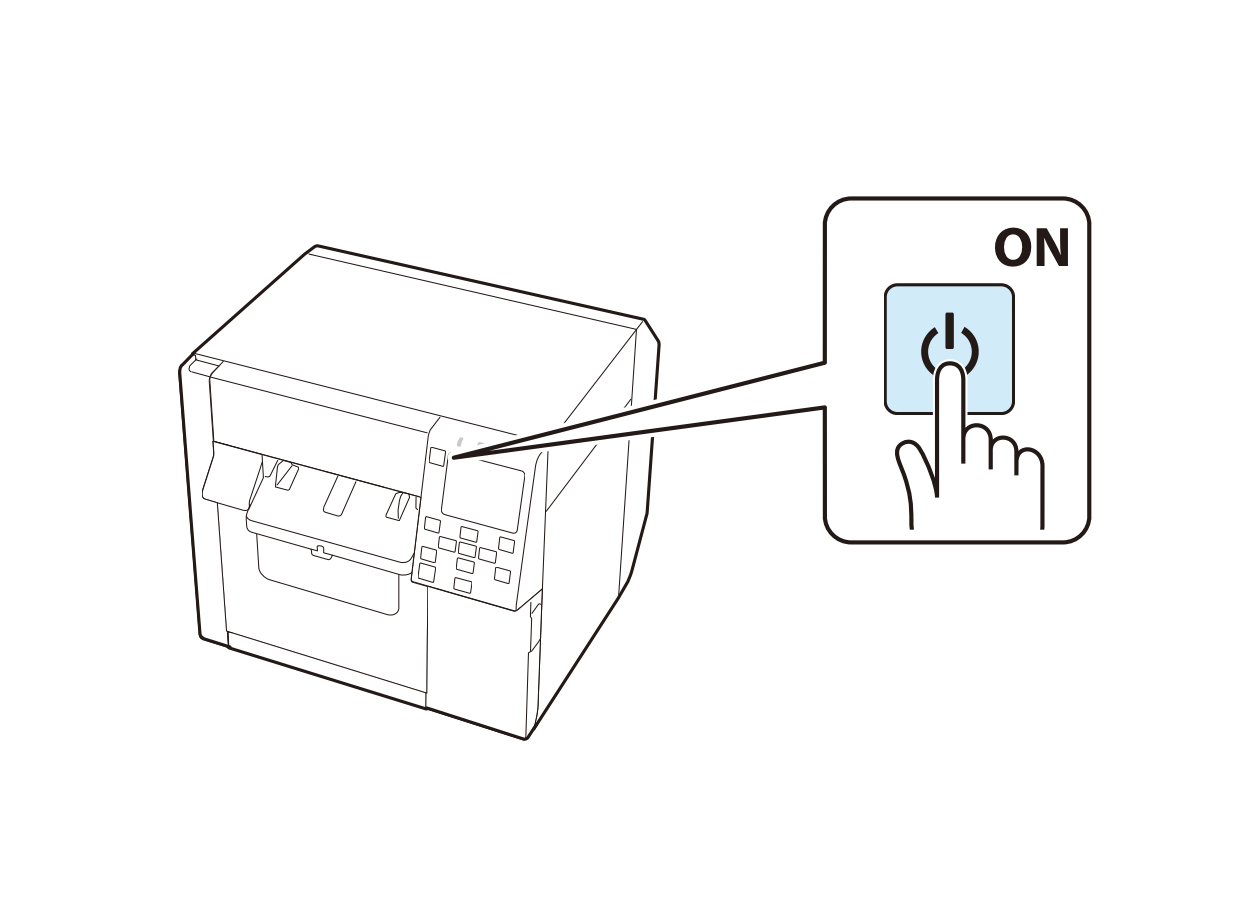
epson cw4000 installation
1. Laptop and printer setup
1.1 Placing the laptop
Take the laptop out of the flight case and place it on a stable surface.
Take the laptop's power cable out of the flight case.
Connect the laptop's power cable to the printer and to a power outlet.
1.2 Placing and connecting the printer
Take the printer out of the flight case and place it on a stable surface.
Take the printer's power cables out of the flight case.
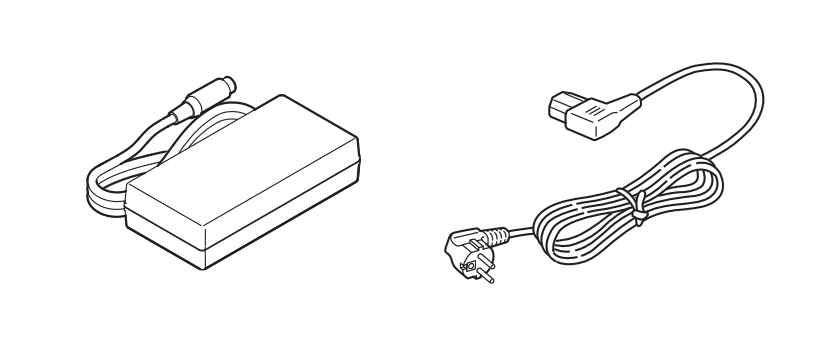
Connect them to the back of the printer and to a power outlet.
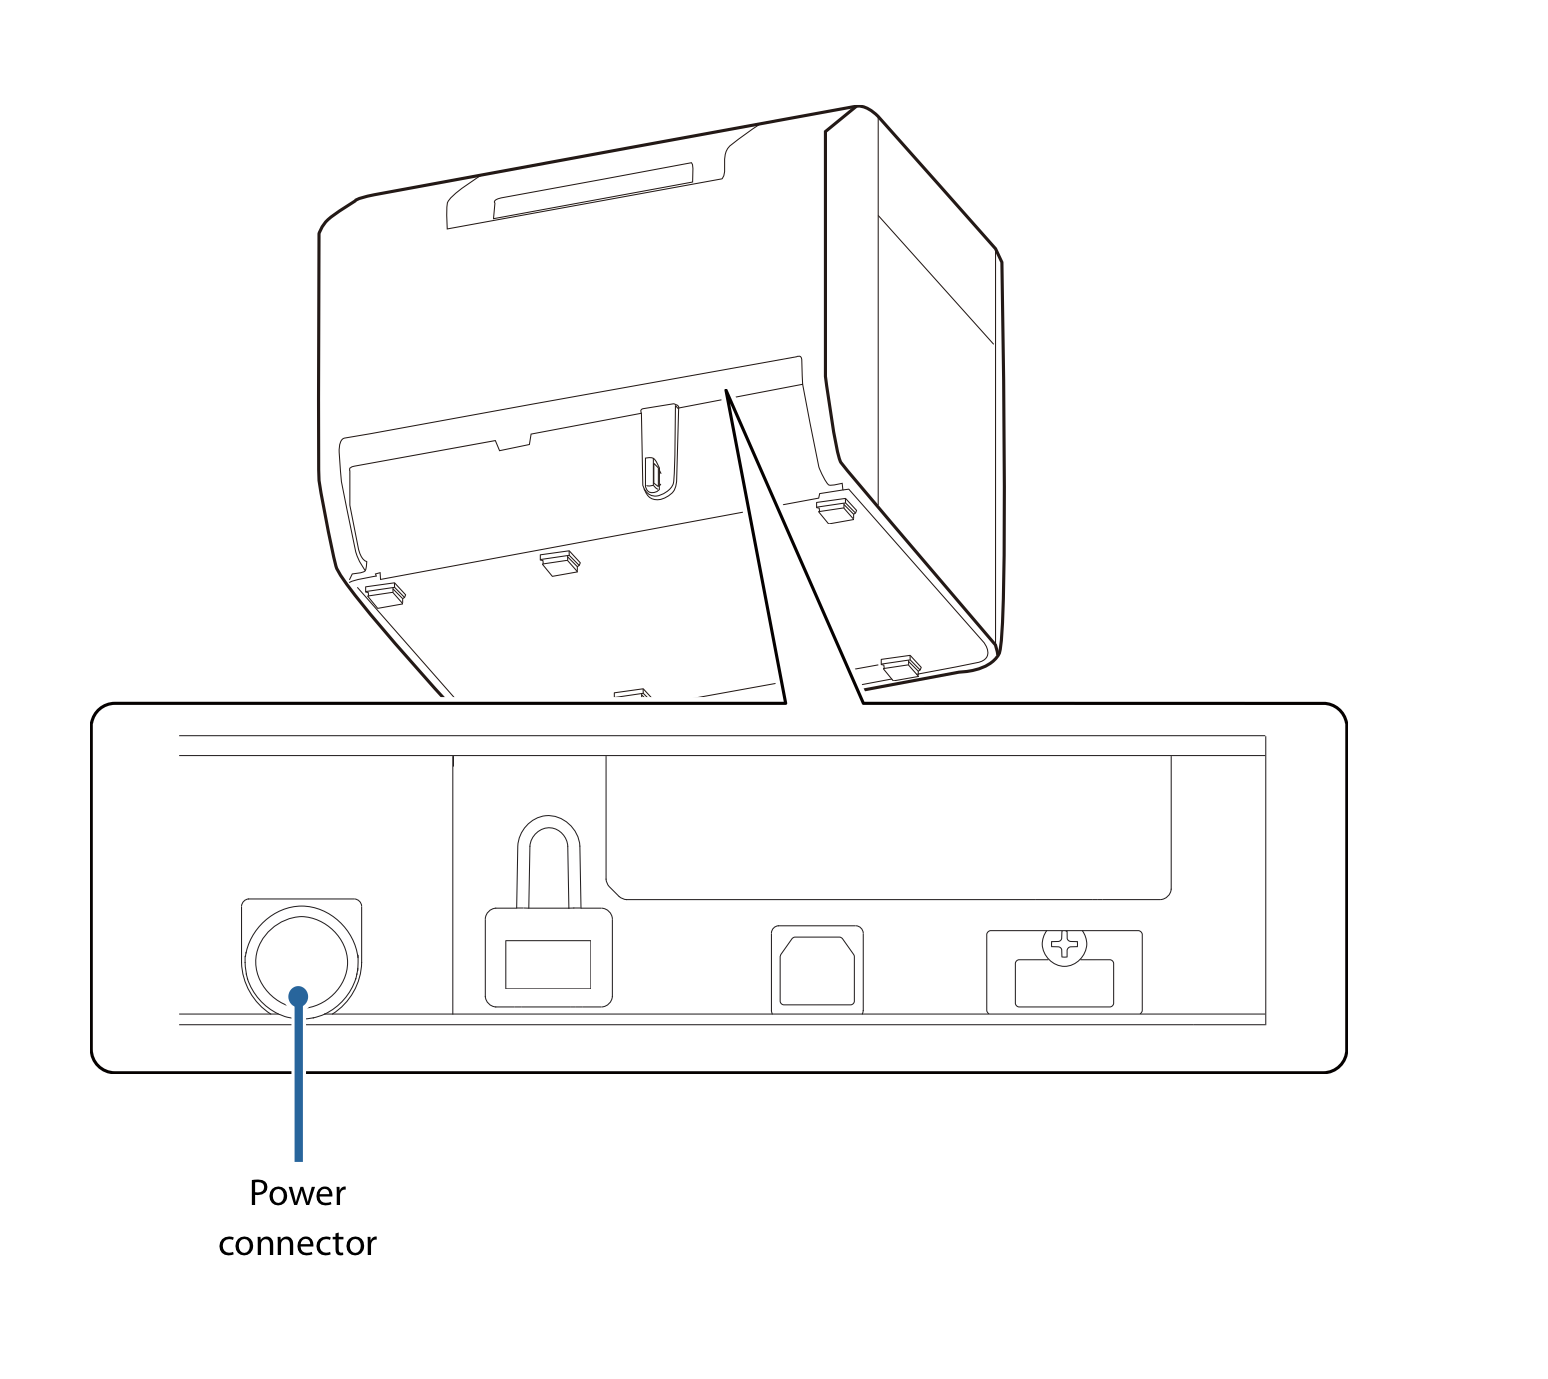
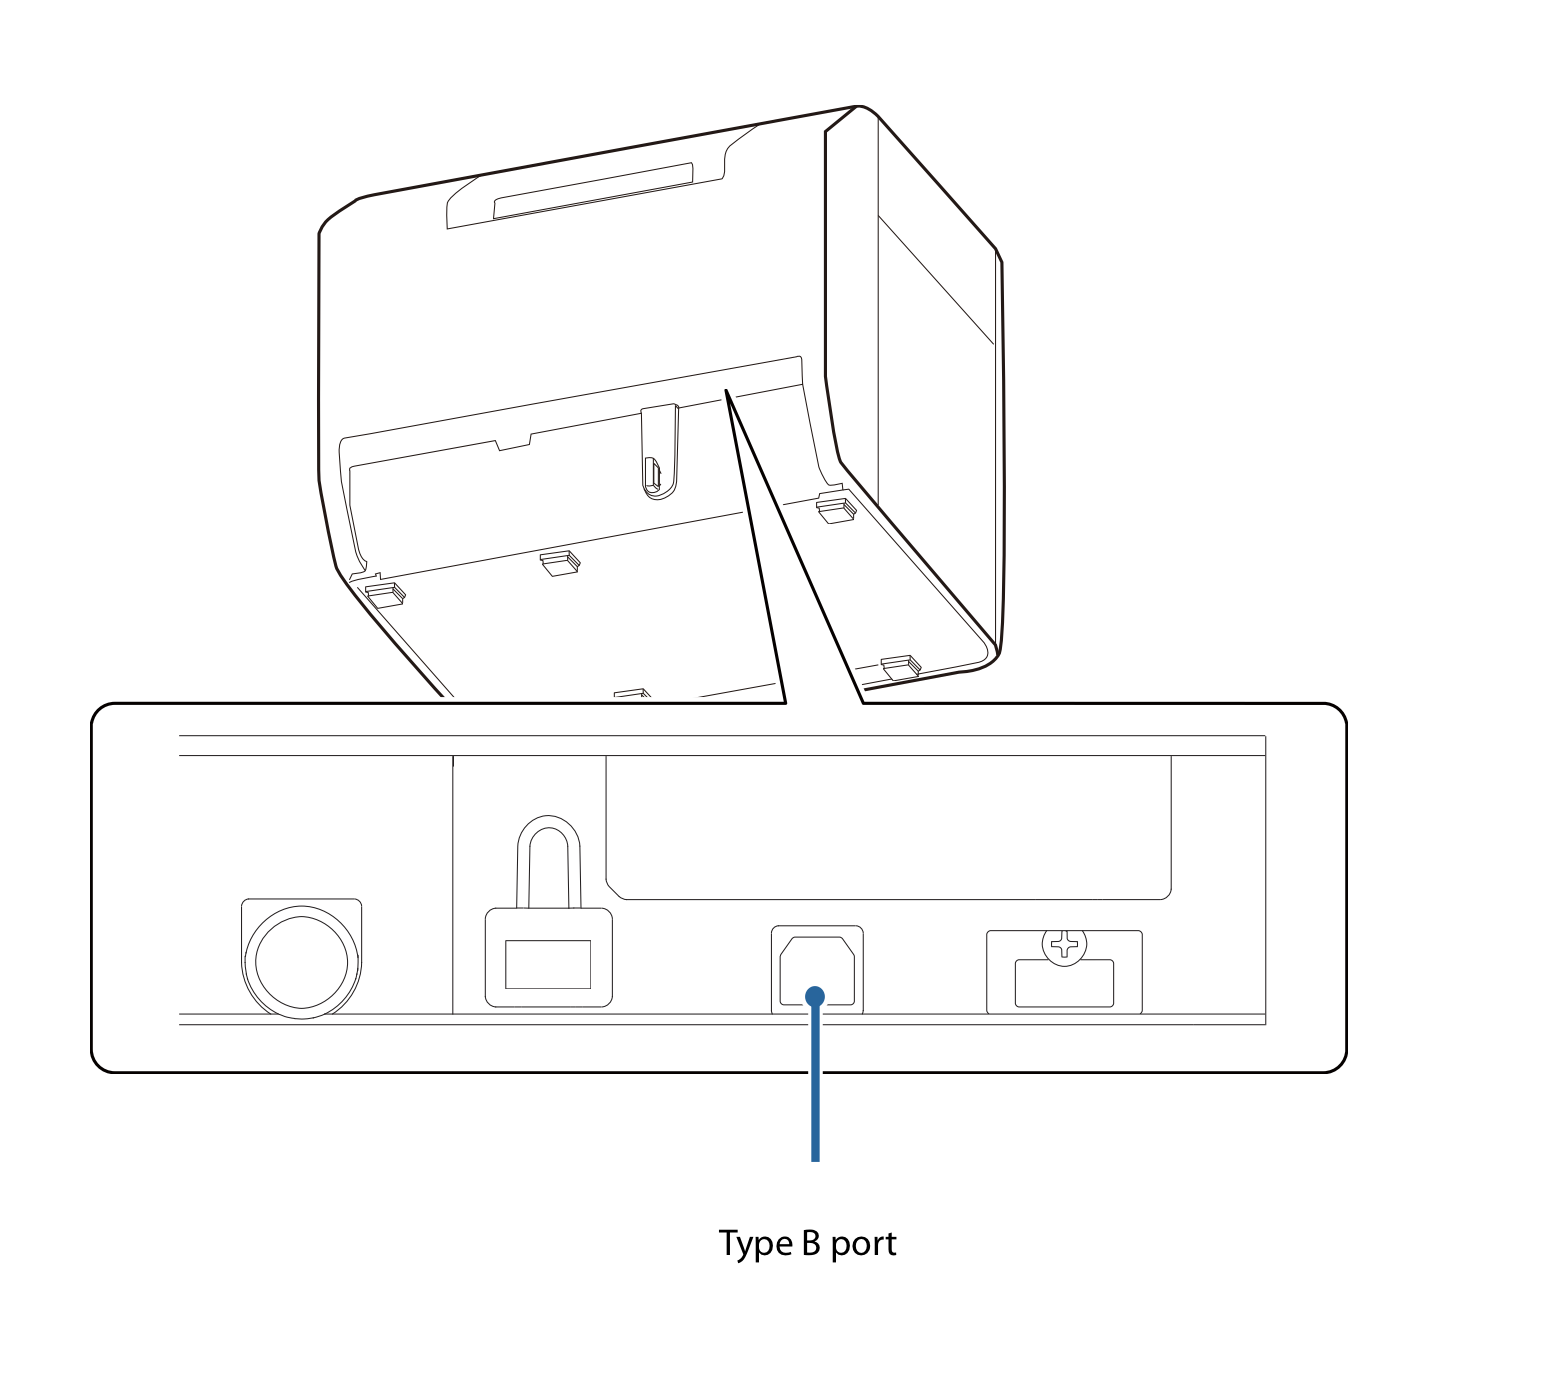
1.3 Connecting the USB cable
Take the USB cable out of the flight case.
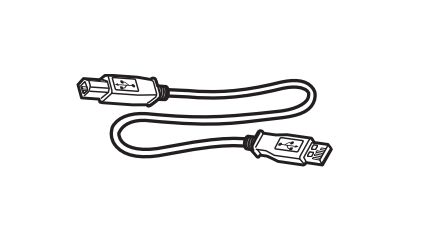
Connect it to the back of the printer and to a USB port on the laptop.
2. Badge setup
2.1 Placing the box of badges
Take a box of badges out of the flight case.
Place the box behind the printer.
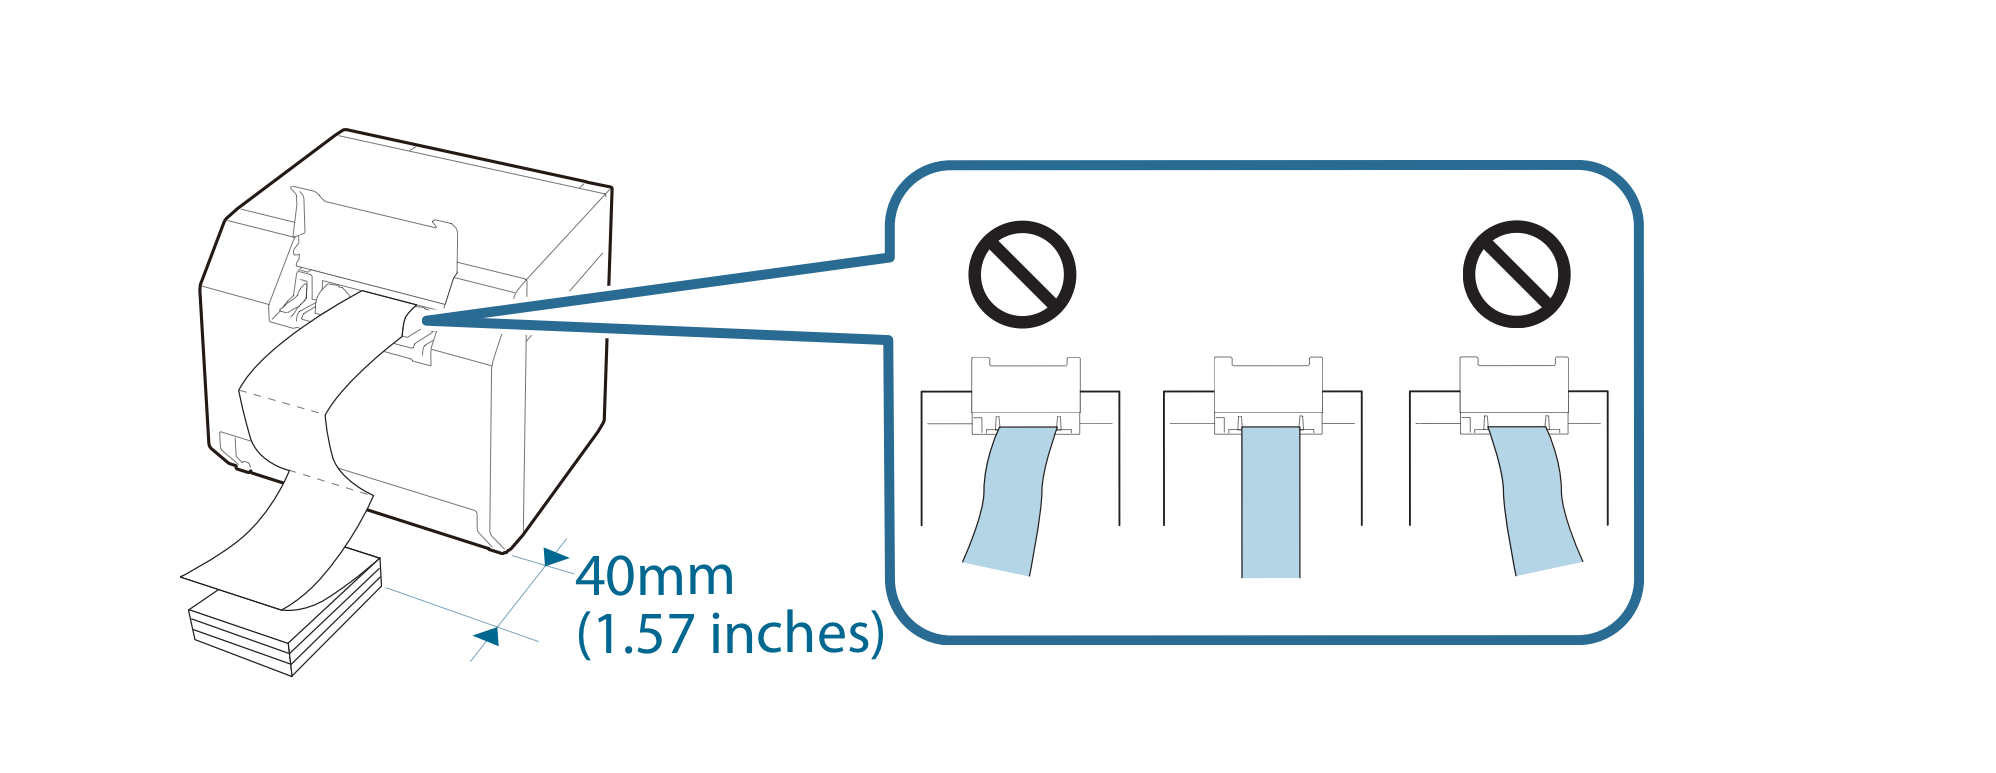
- You do not need to take the badges out of the box.
- Make sure the side to be printed is facing up.
- Also make sure the paper feeds straight into the printer.
2.2 Feeding the paper through the printer
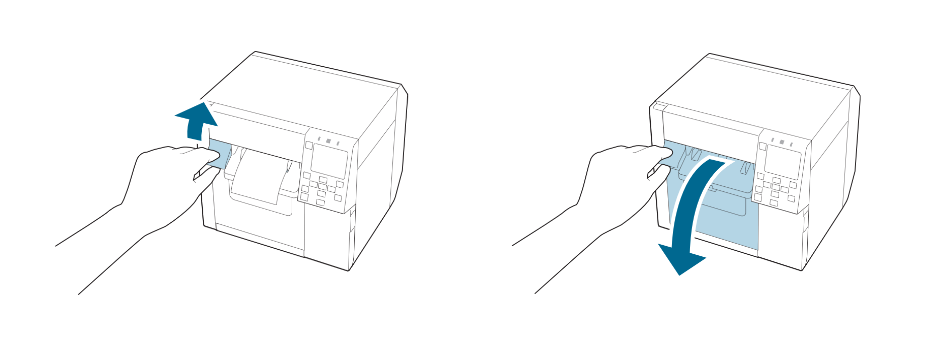
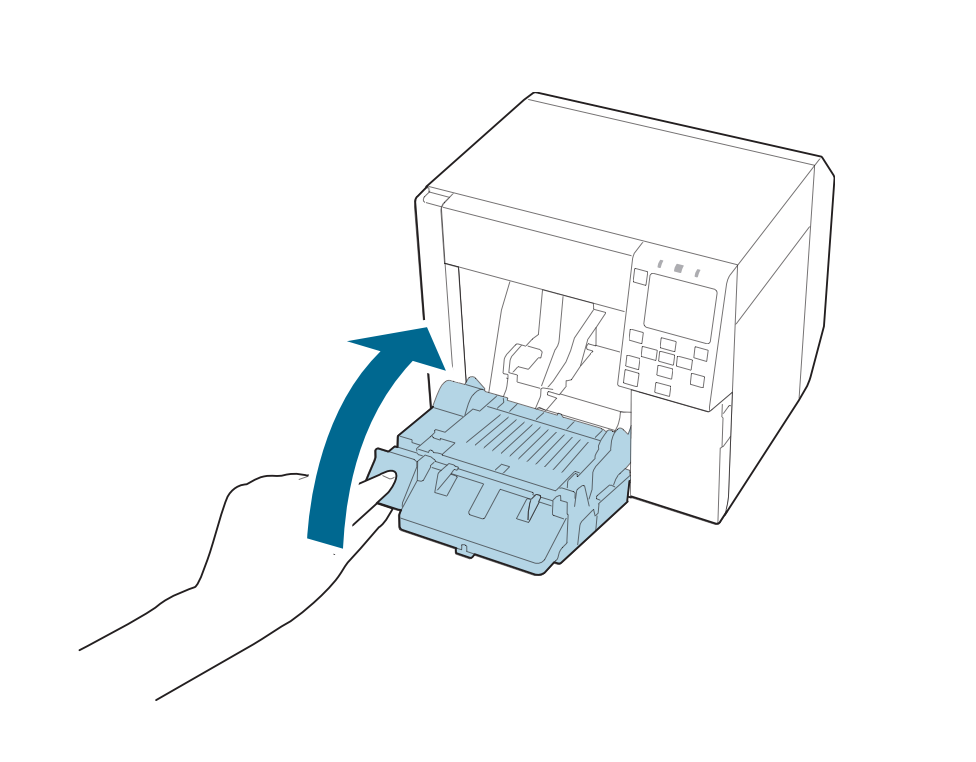
Open the front of the printer by gently pulling the lever below.
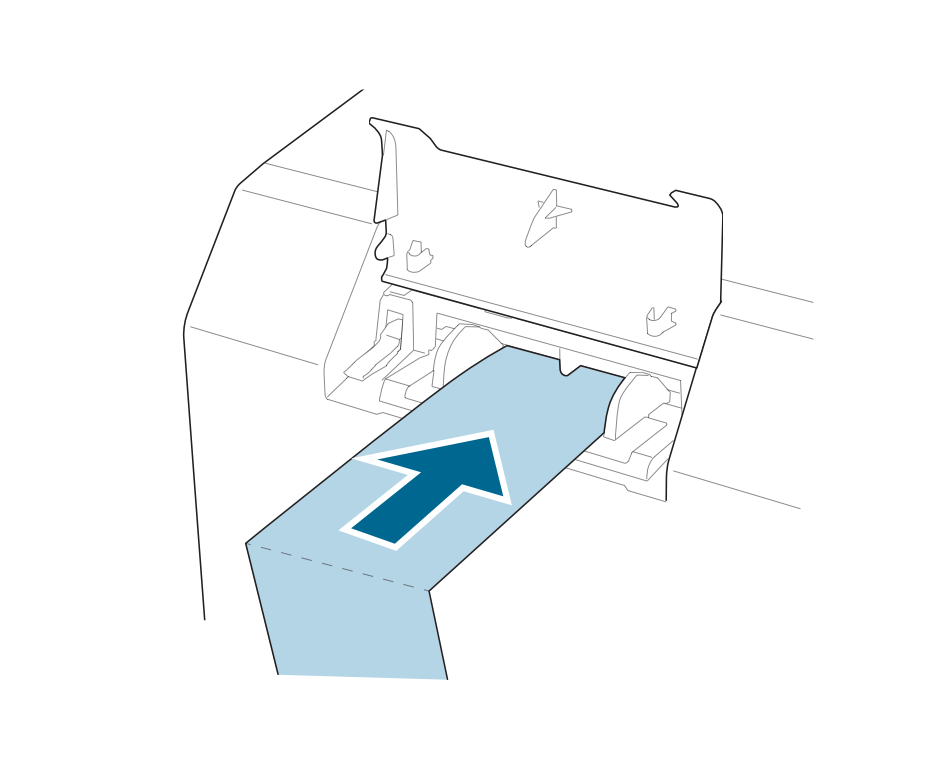
Push the paper through the printer from the back until at least half a badge sticks out at the front.
Close the front of the printer. You will hear a click when the printer is properly closed.
2.3 Starting the printer
You can now start the printer. Press the power button for at least 1 second.